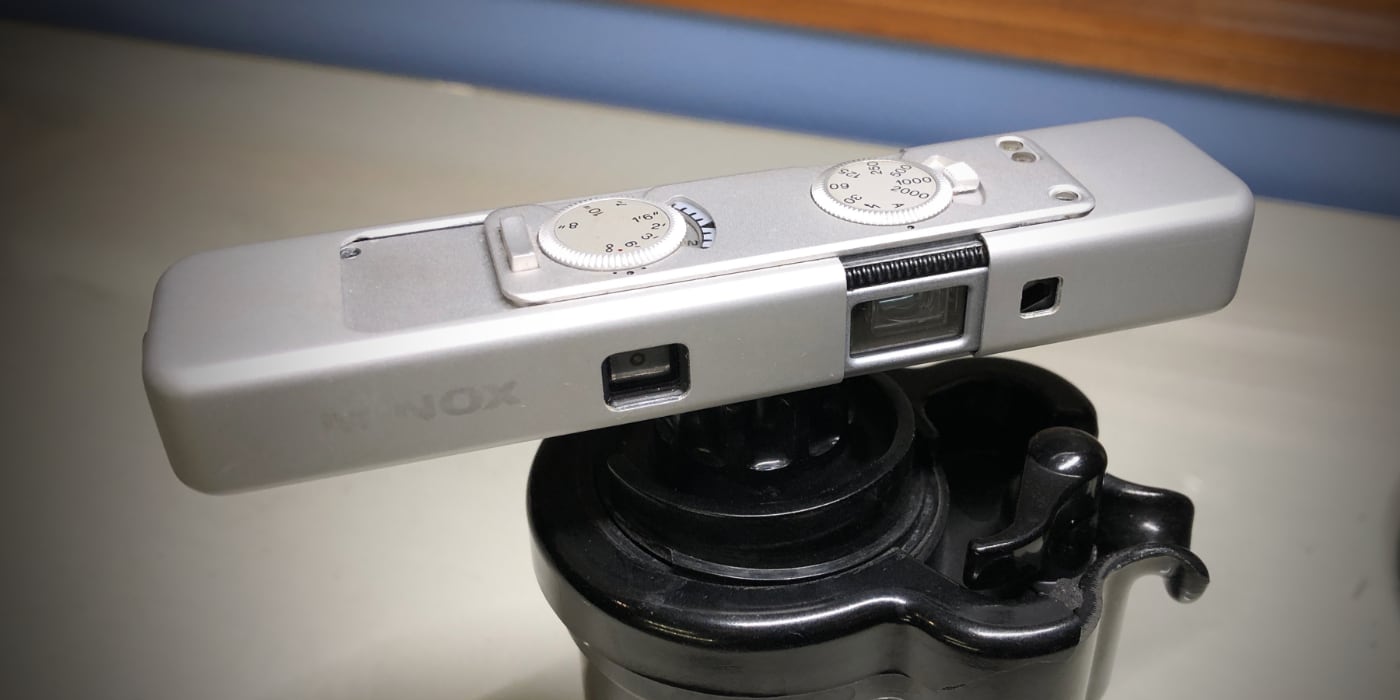
I have a few pocketable cameras in my collection, and none are as portable as the Minox LX. I used to frequently stash an Olympus XA in a jacket pocket; until the rangefinder patch got so dim that I too frequently missed focus. I could have used scale or zone focusing with the camera, but that would negate one of the main reason for choosing it. I decided to reevaluate which camera would fill this everyday carry role, and the winner was the Minox LX.
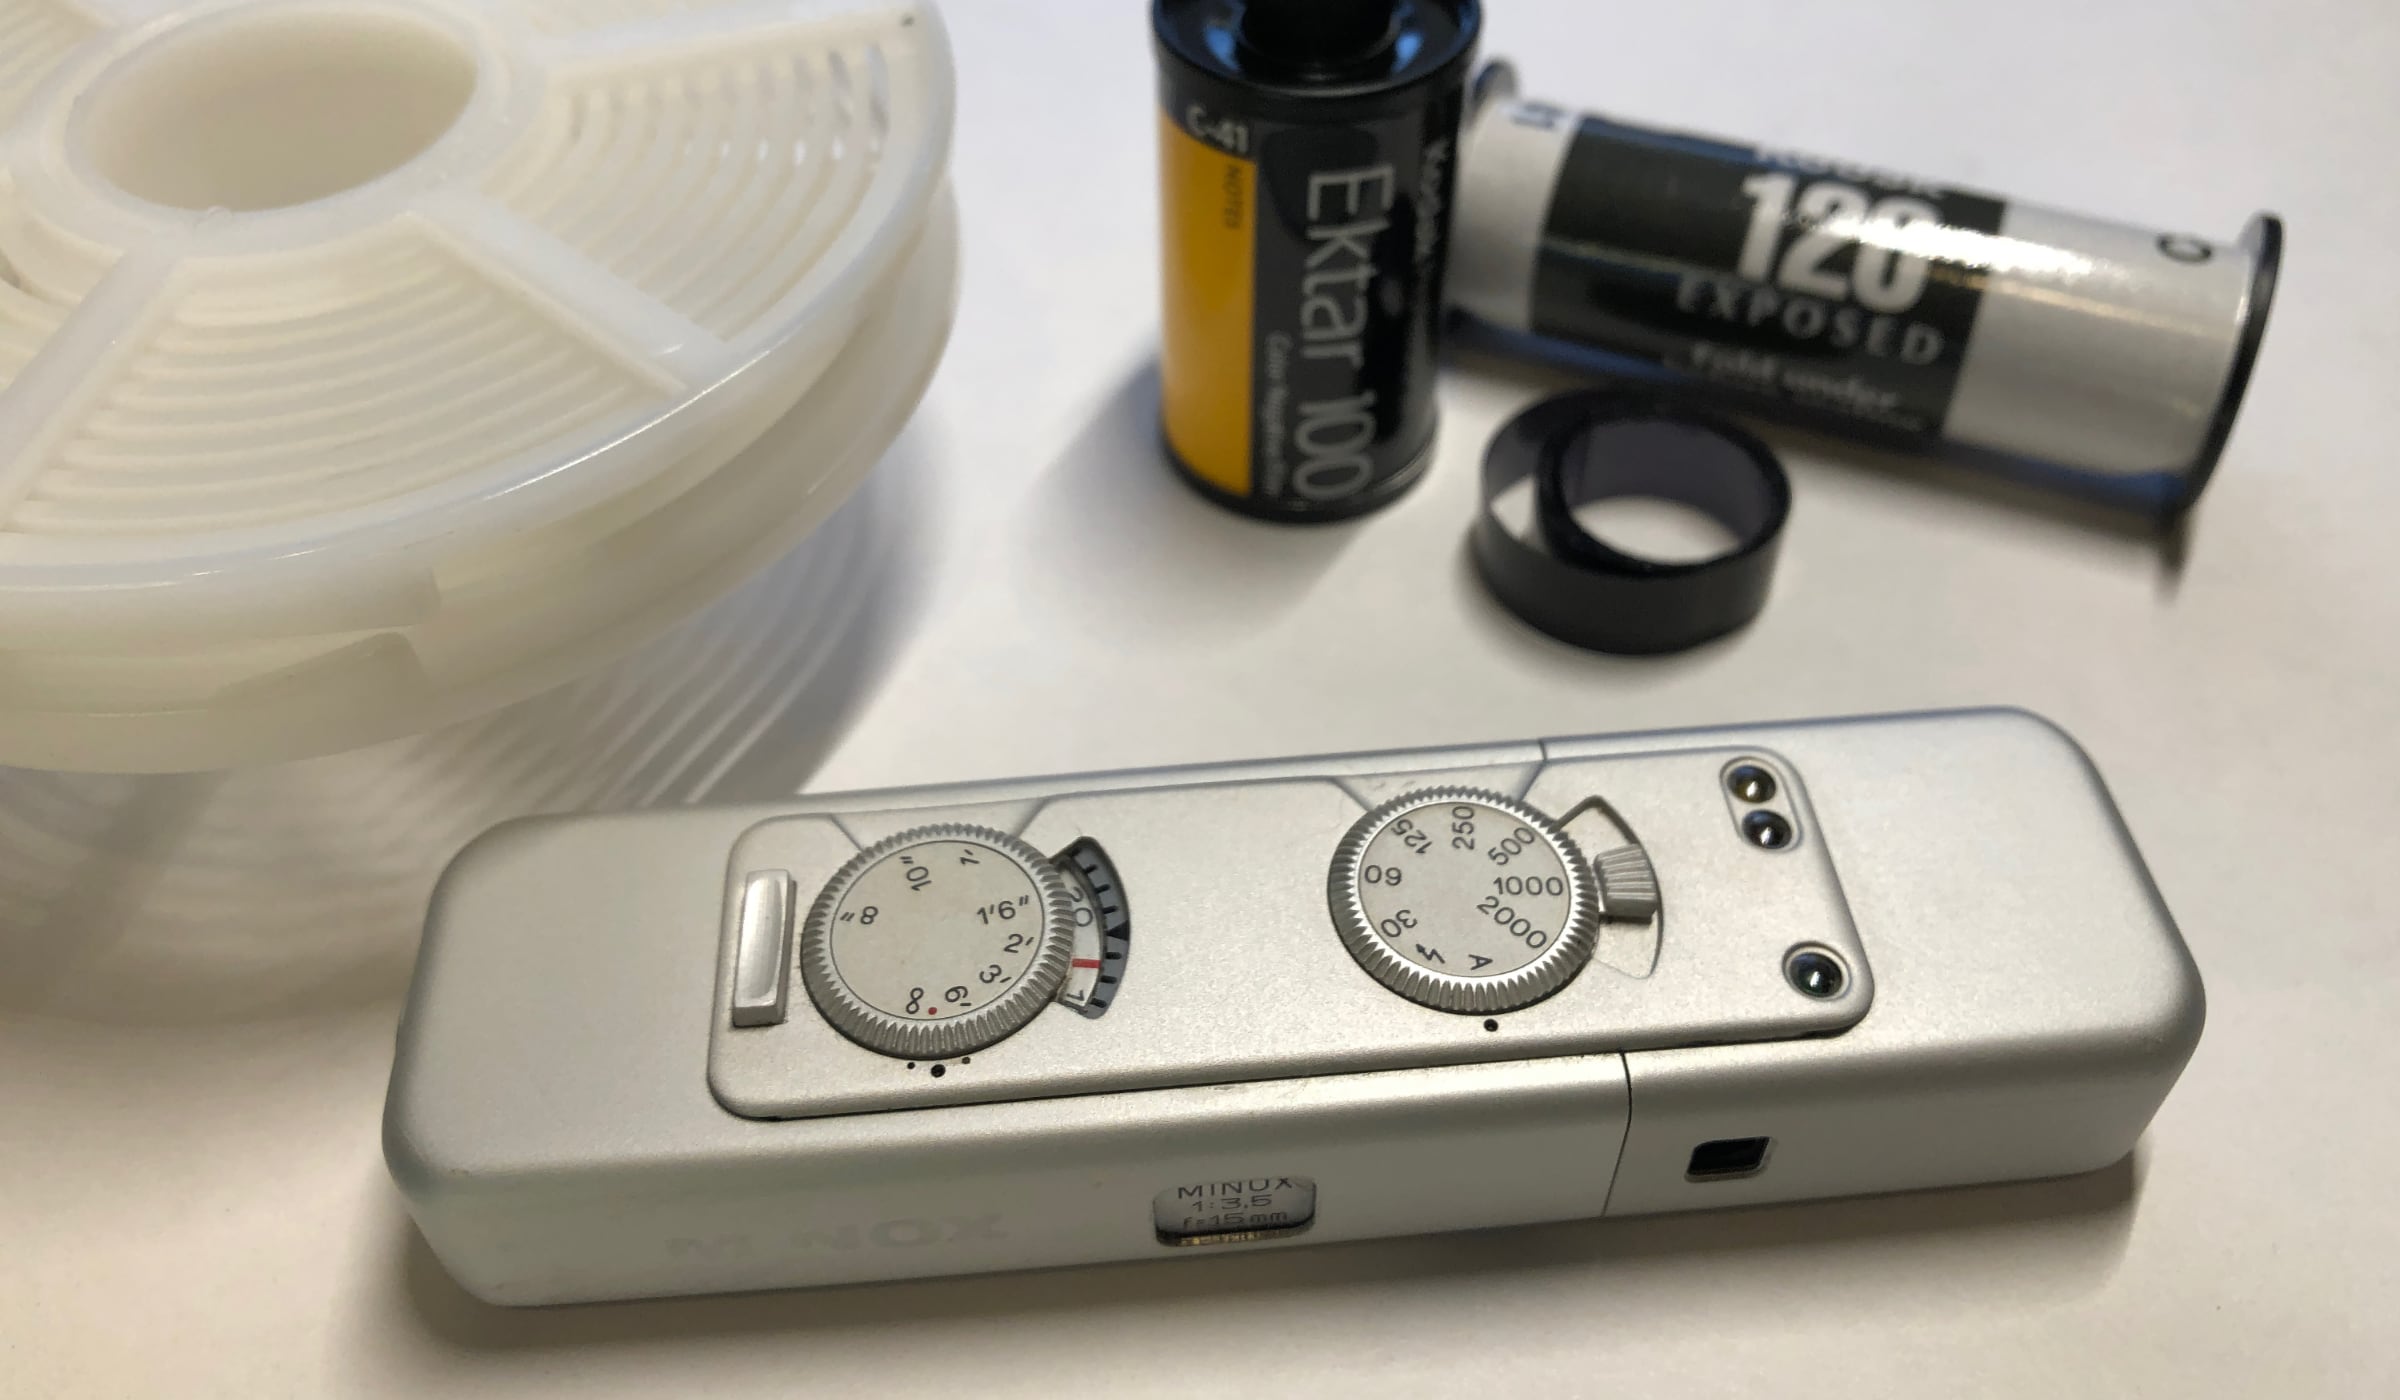
I found this camera many years ago when I was going through my spy camera phase. I sold all of the other subminiatures and kept the LX. The Minox LX was a keeper due to its: metal construction and f/3.5 lens (unlike the EC); top speed of 1/2000; built in silicon meter; built in neutral density filter; standard tripod socket; and, maybe the most important advantage over the older models, smart film advance. In older Minox models the film advances every time the camera body is pushed closed. So, if you open those cameras you have to either take a photo or lose a frame. That game was fun for a while, but I grew tired of it quickly.
The Minox LX does have some downsides. It needs an odd battery unless you are lucky enough to have an adapter. Also, the film is not widely available; you can either pay a lot more for each roll, or invest in slitting your own film. Development for the film is not widely available; you can either pay a lot more for each roll, or invest in developing your own film. Finally, the negatives are tiny and enlargements are always grainy.
Honestly though, if you are comfortable slitting, developing, and scanning your own 8x11 film, then there really are no downsides to this camera. The graininess is a feature for me. Sure, you could get a Kodak Charmera, but wouldn’t you rather have something more analog?
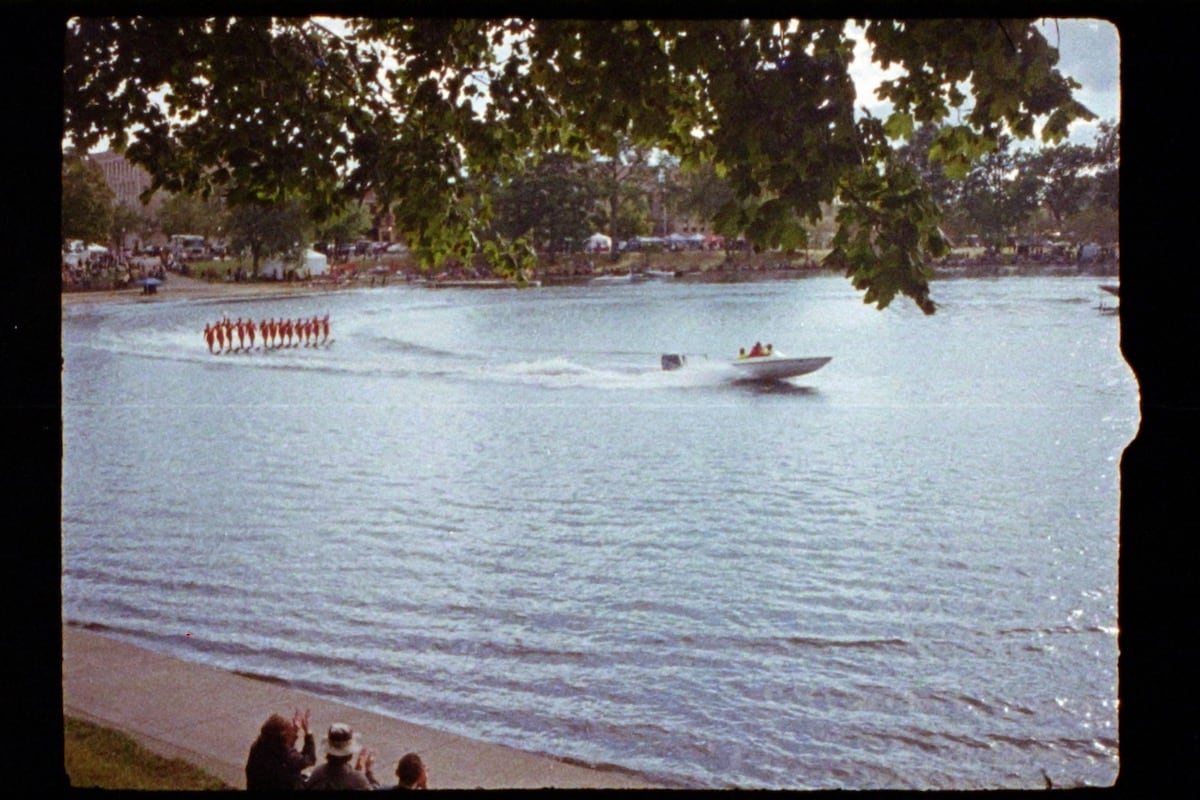
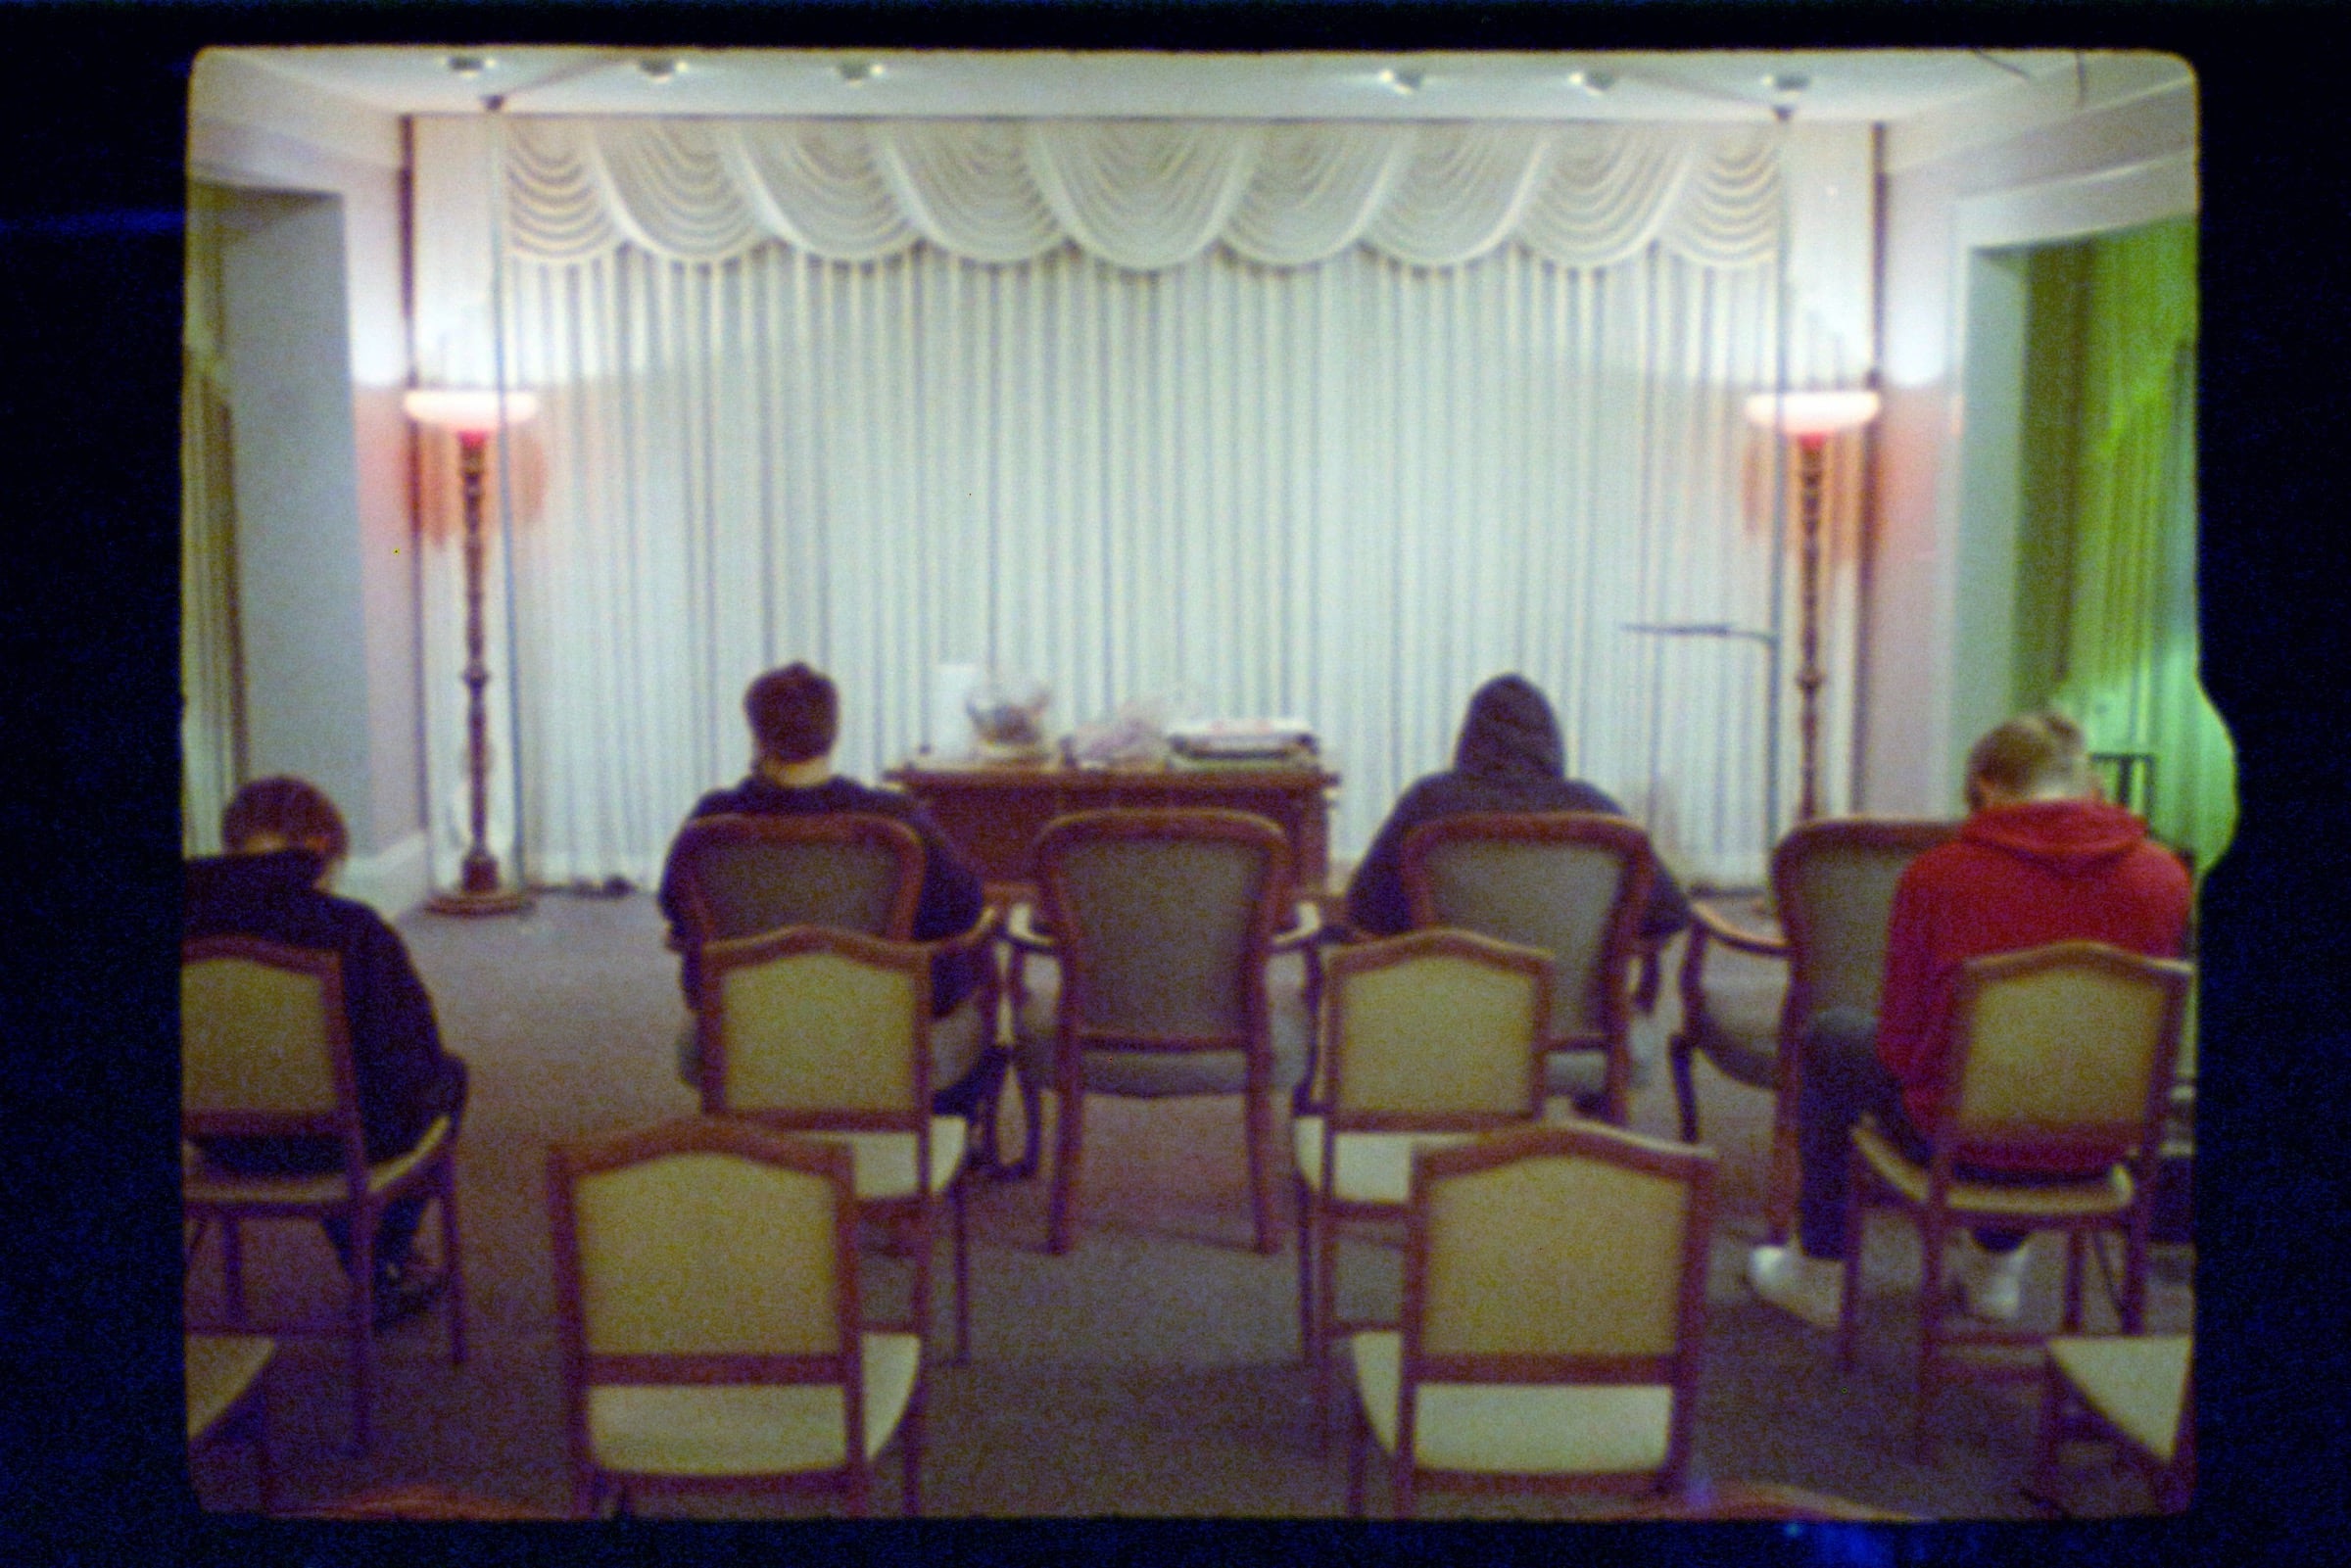
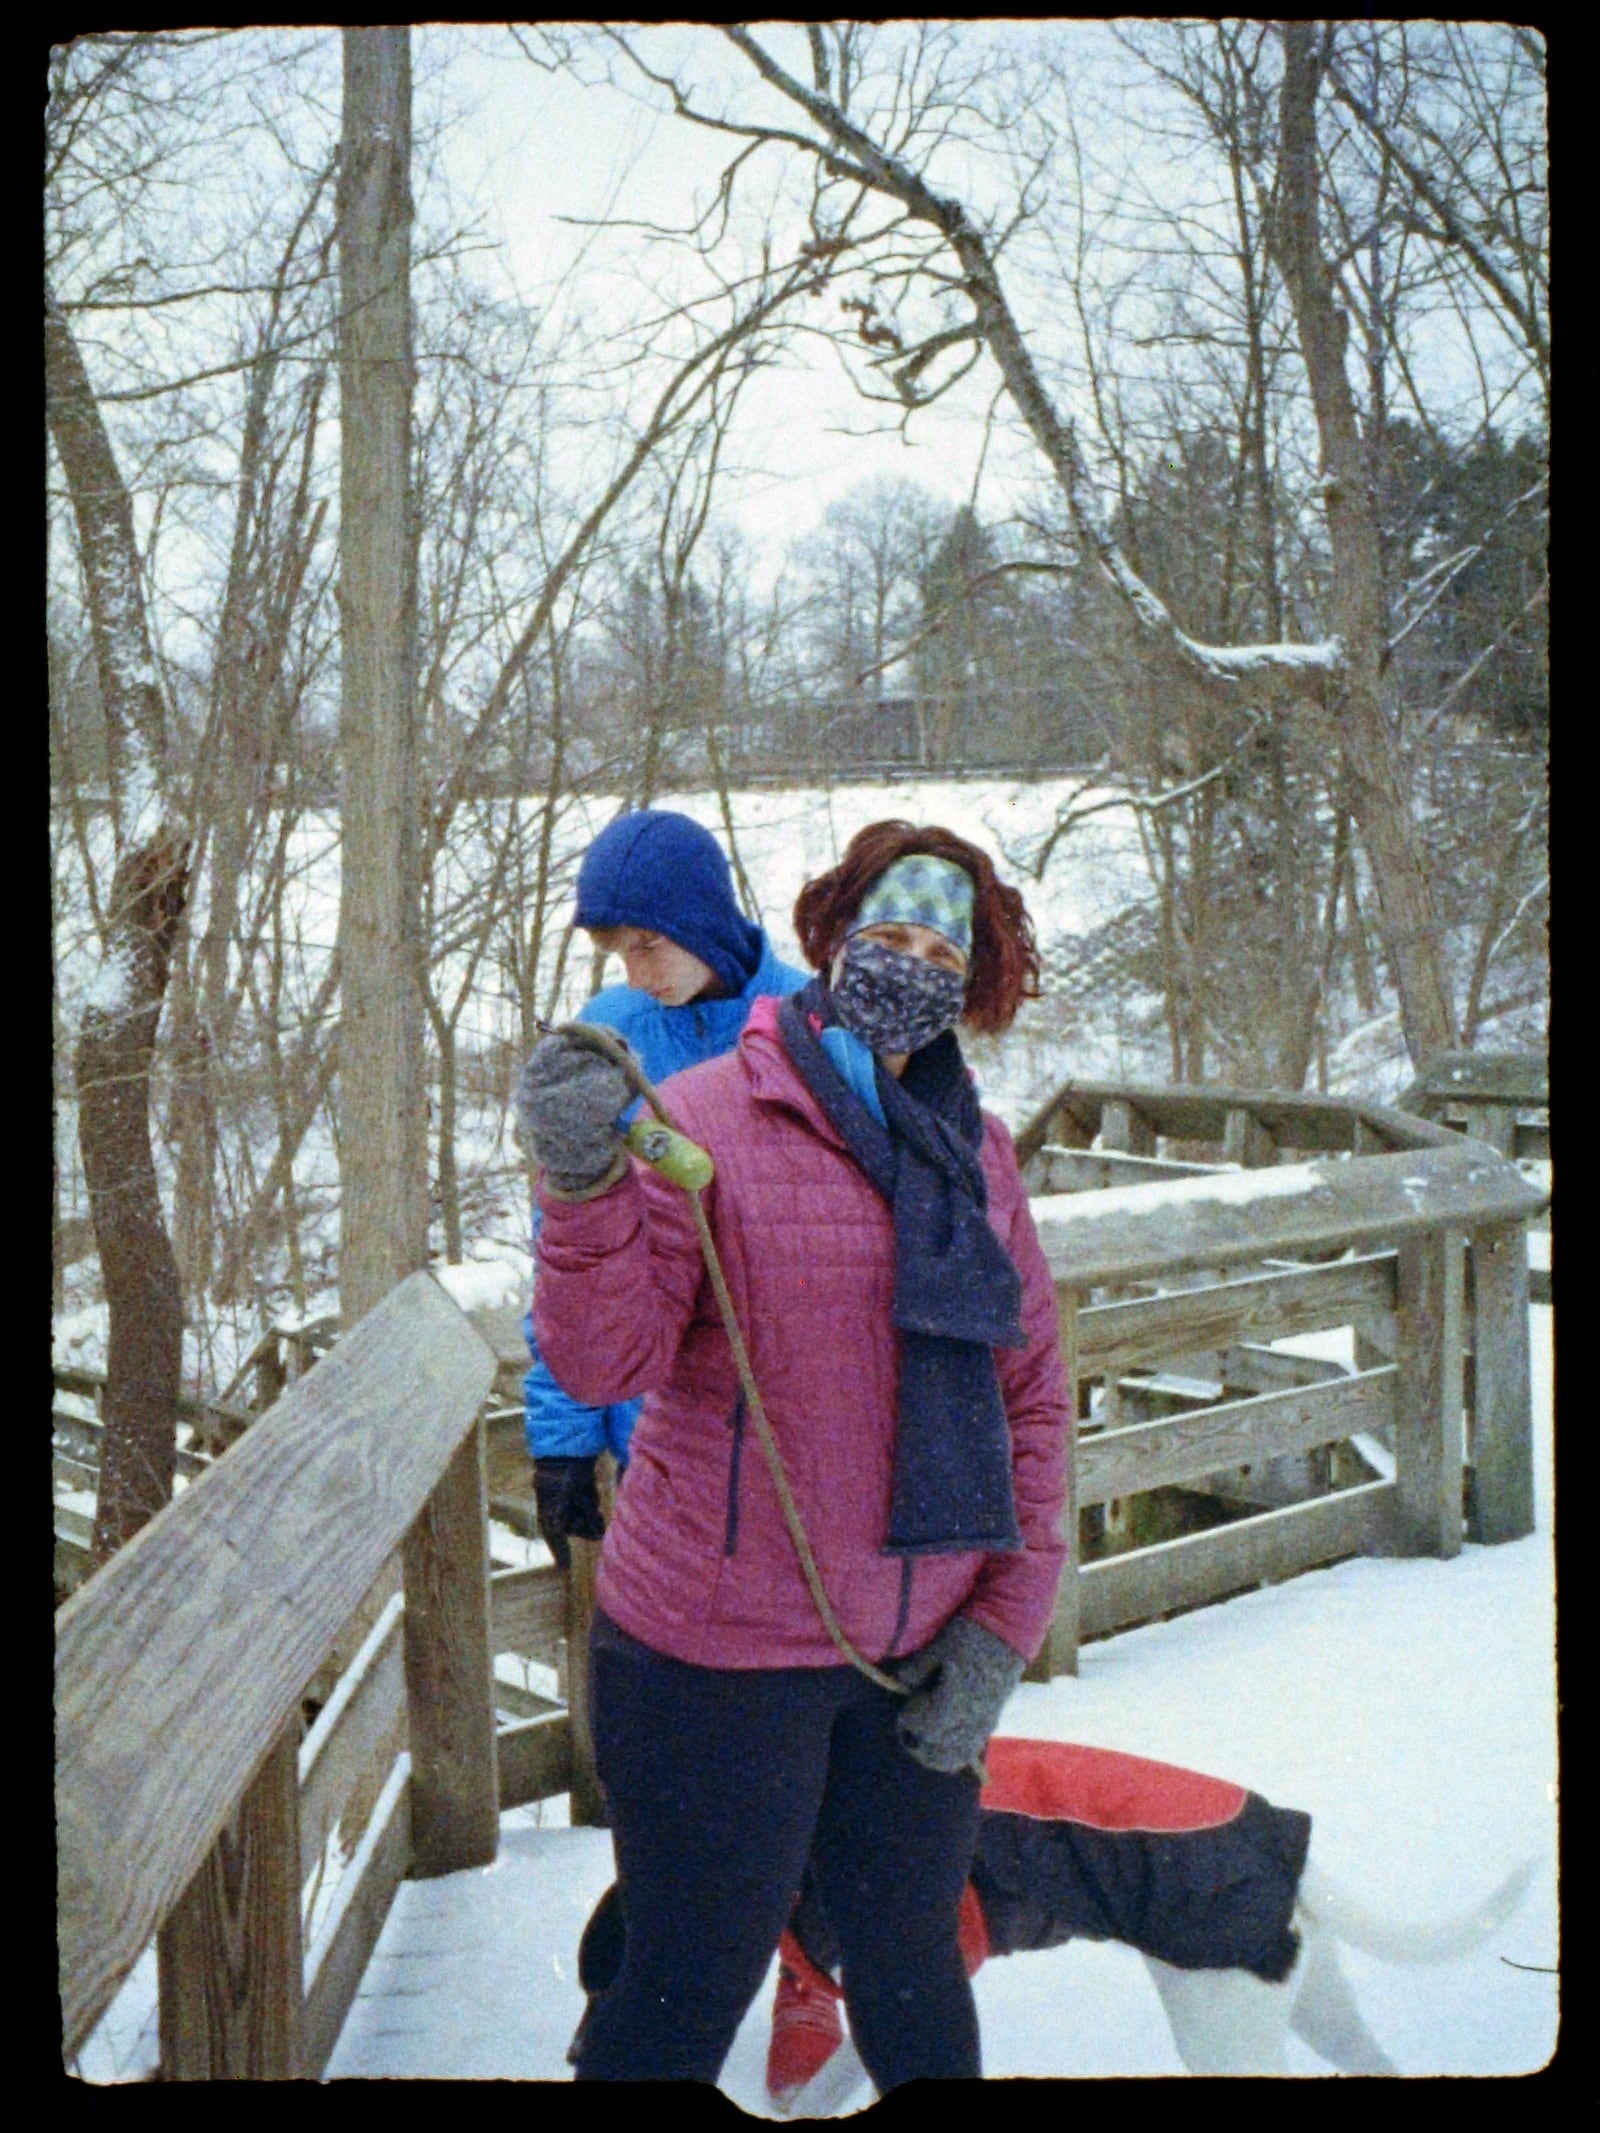
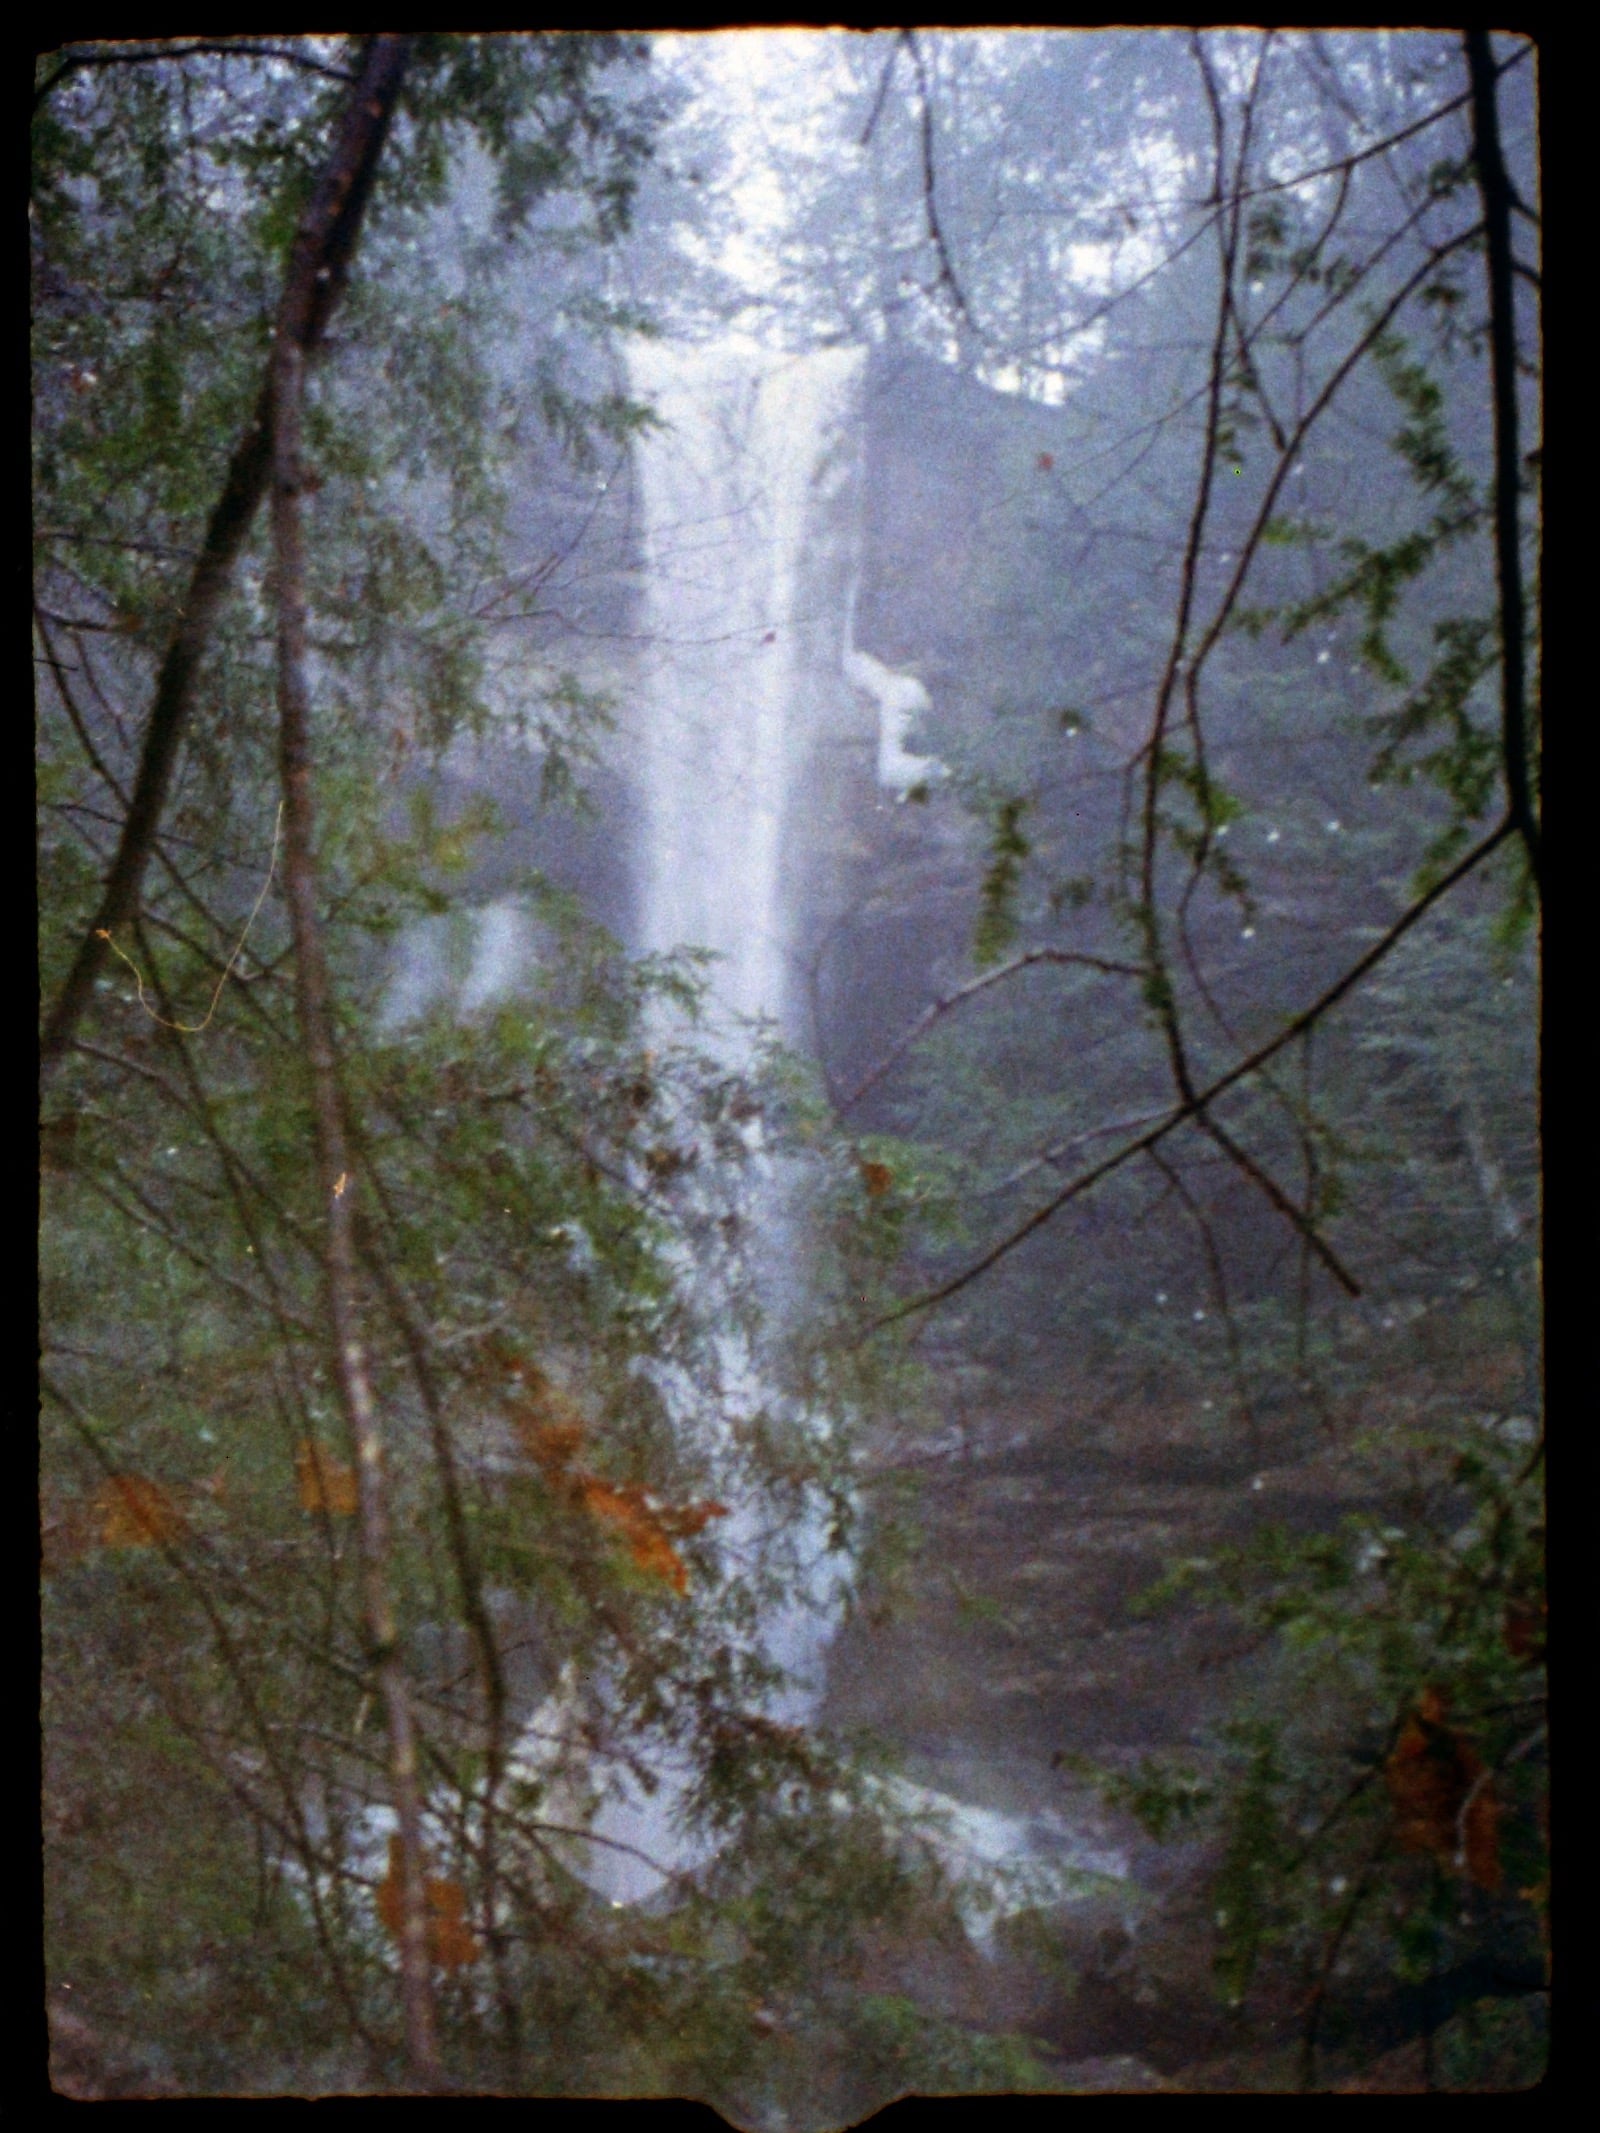
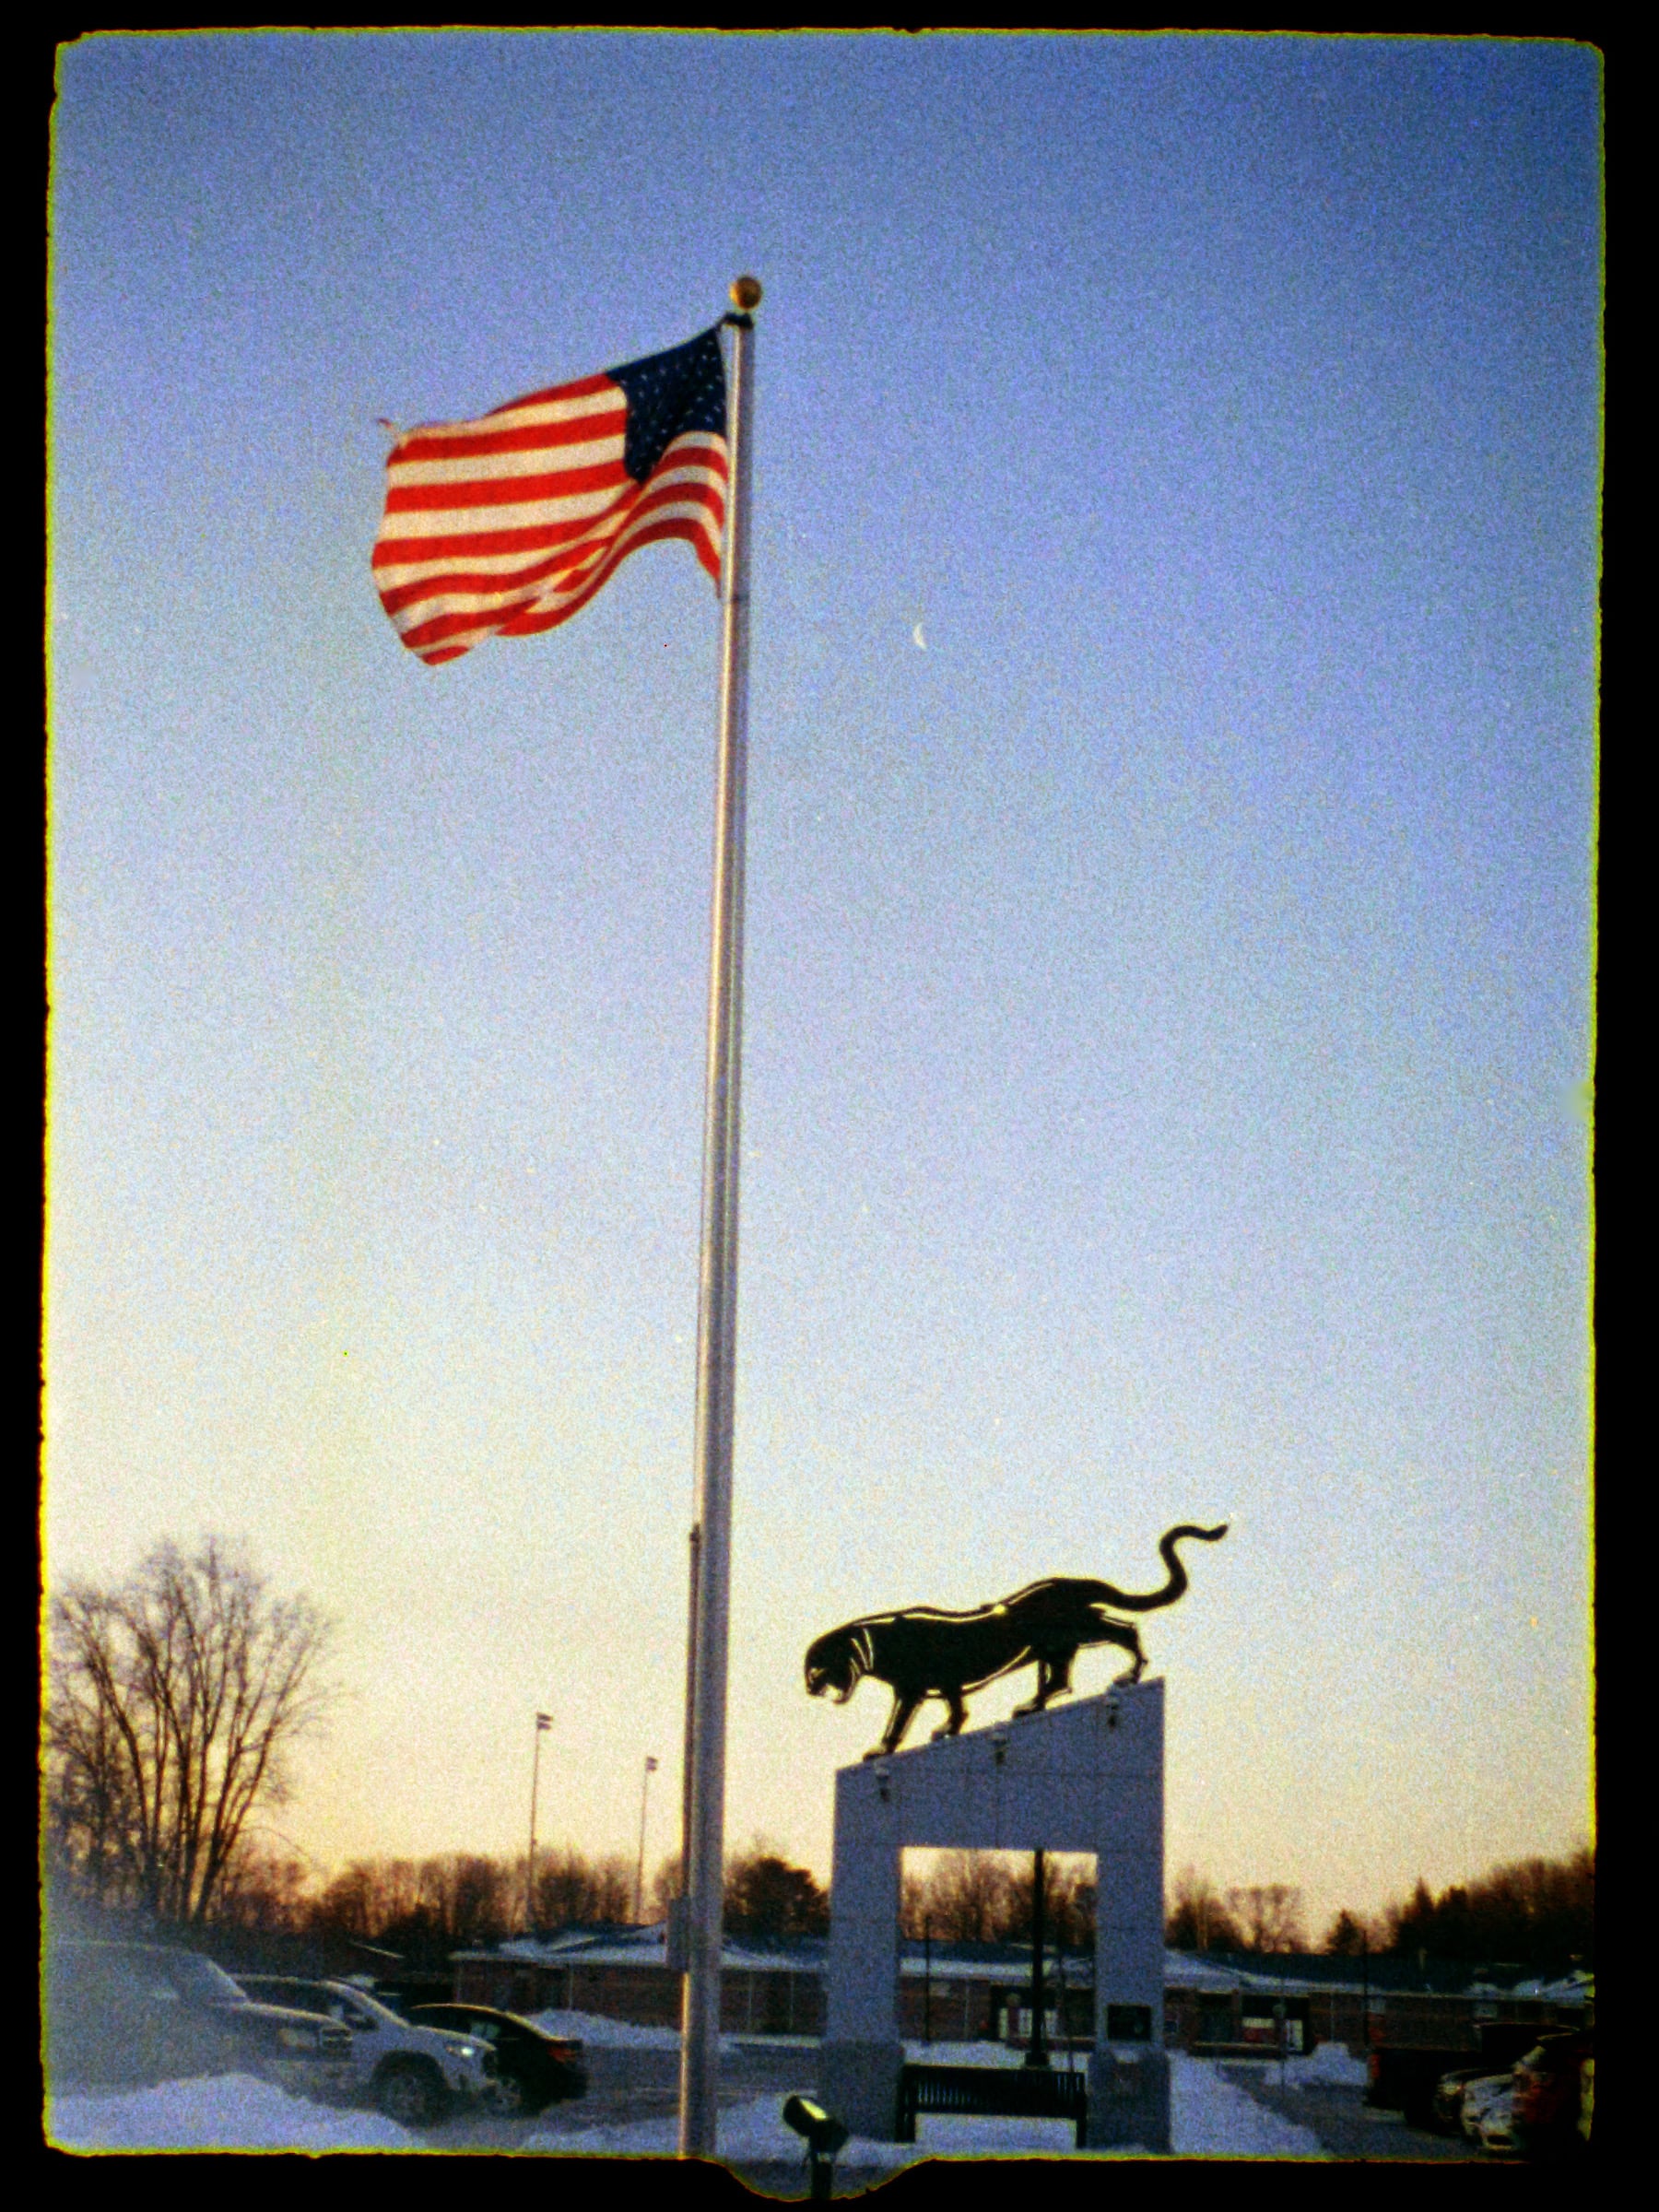
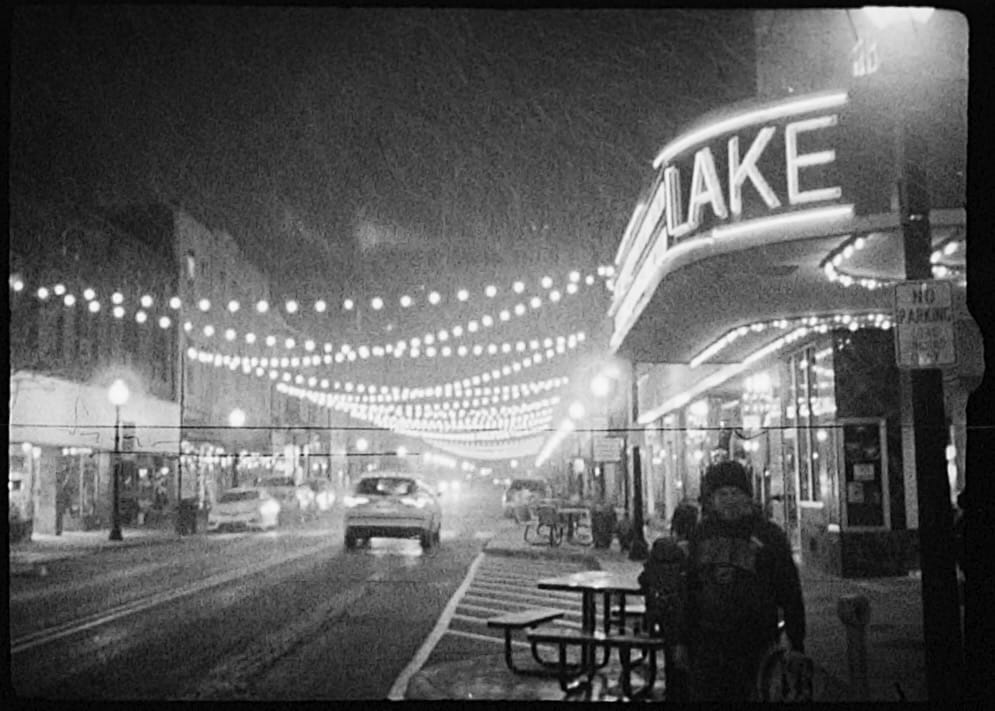
I have found that I prefer either slow speed black and white or color film with this camera. In the summer I will use ProImage or TMAX 100, and in the winter I will stick to UltraMax 400. My go-to high speed B&W film is Tri-X, but even for me that is too crunchy at 8 by 11 millimeters. Once it is loaded I leave the shutter set to A and the focus set to 6’ ⏺ ∞ so it is ready to go.
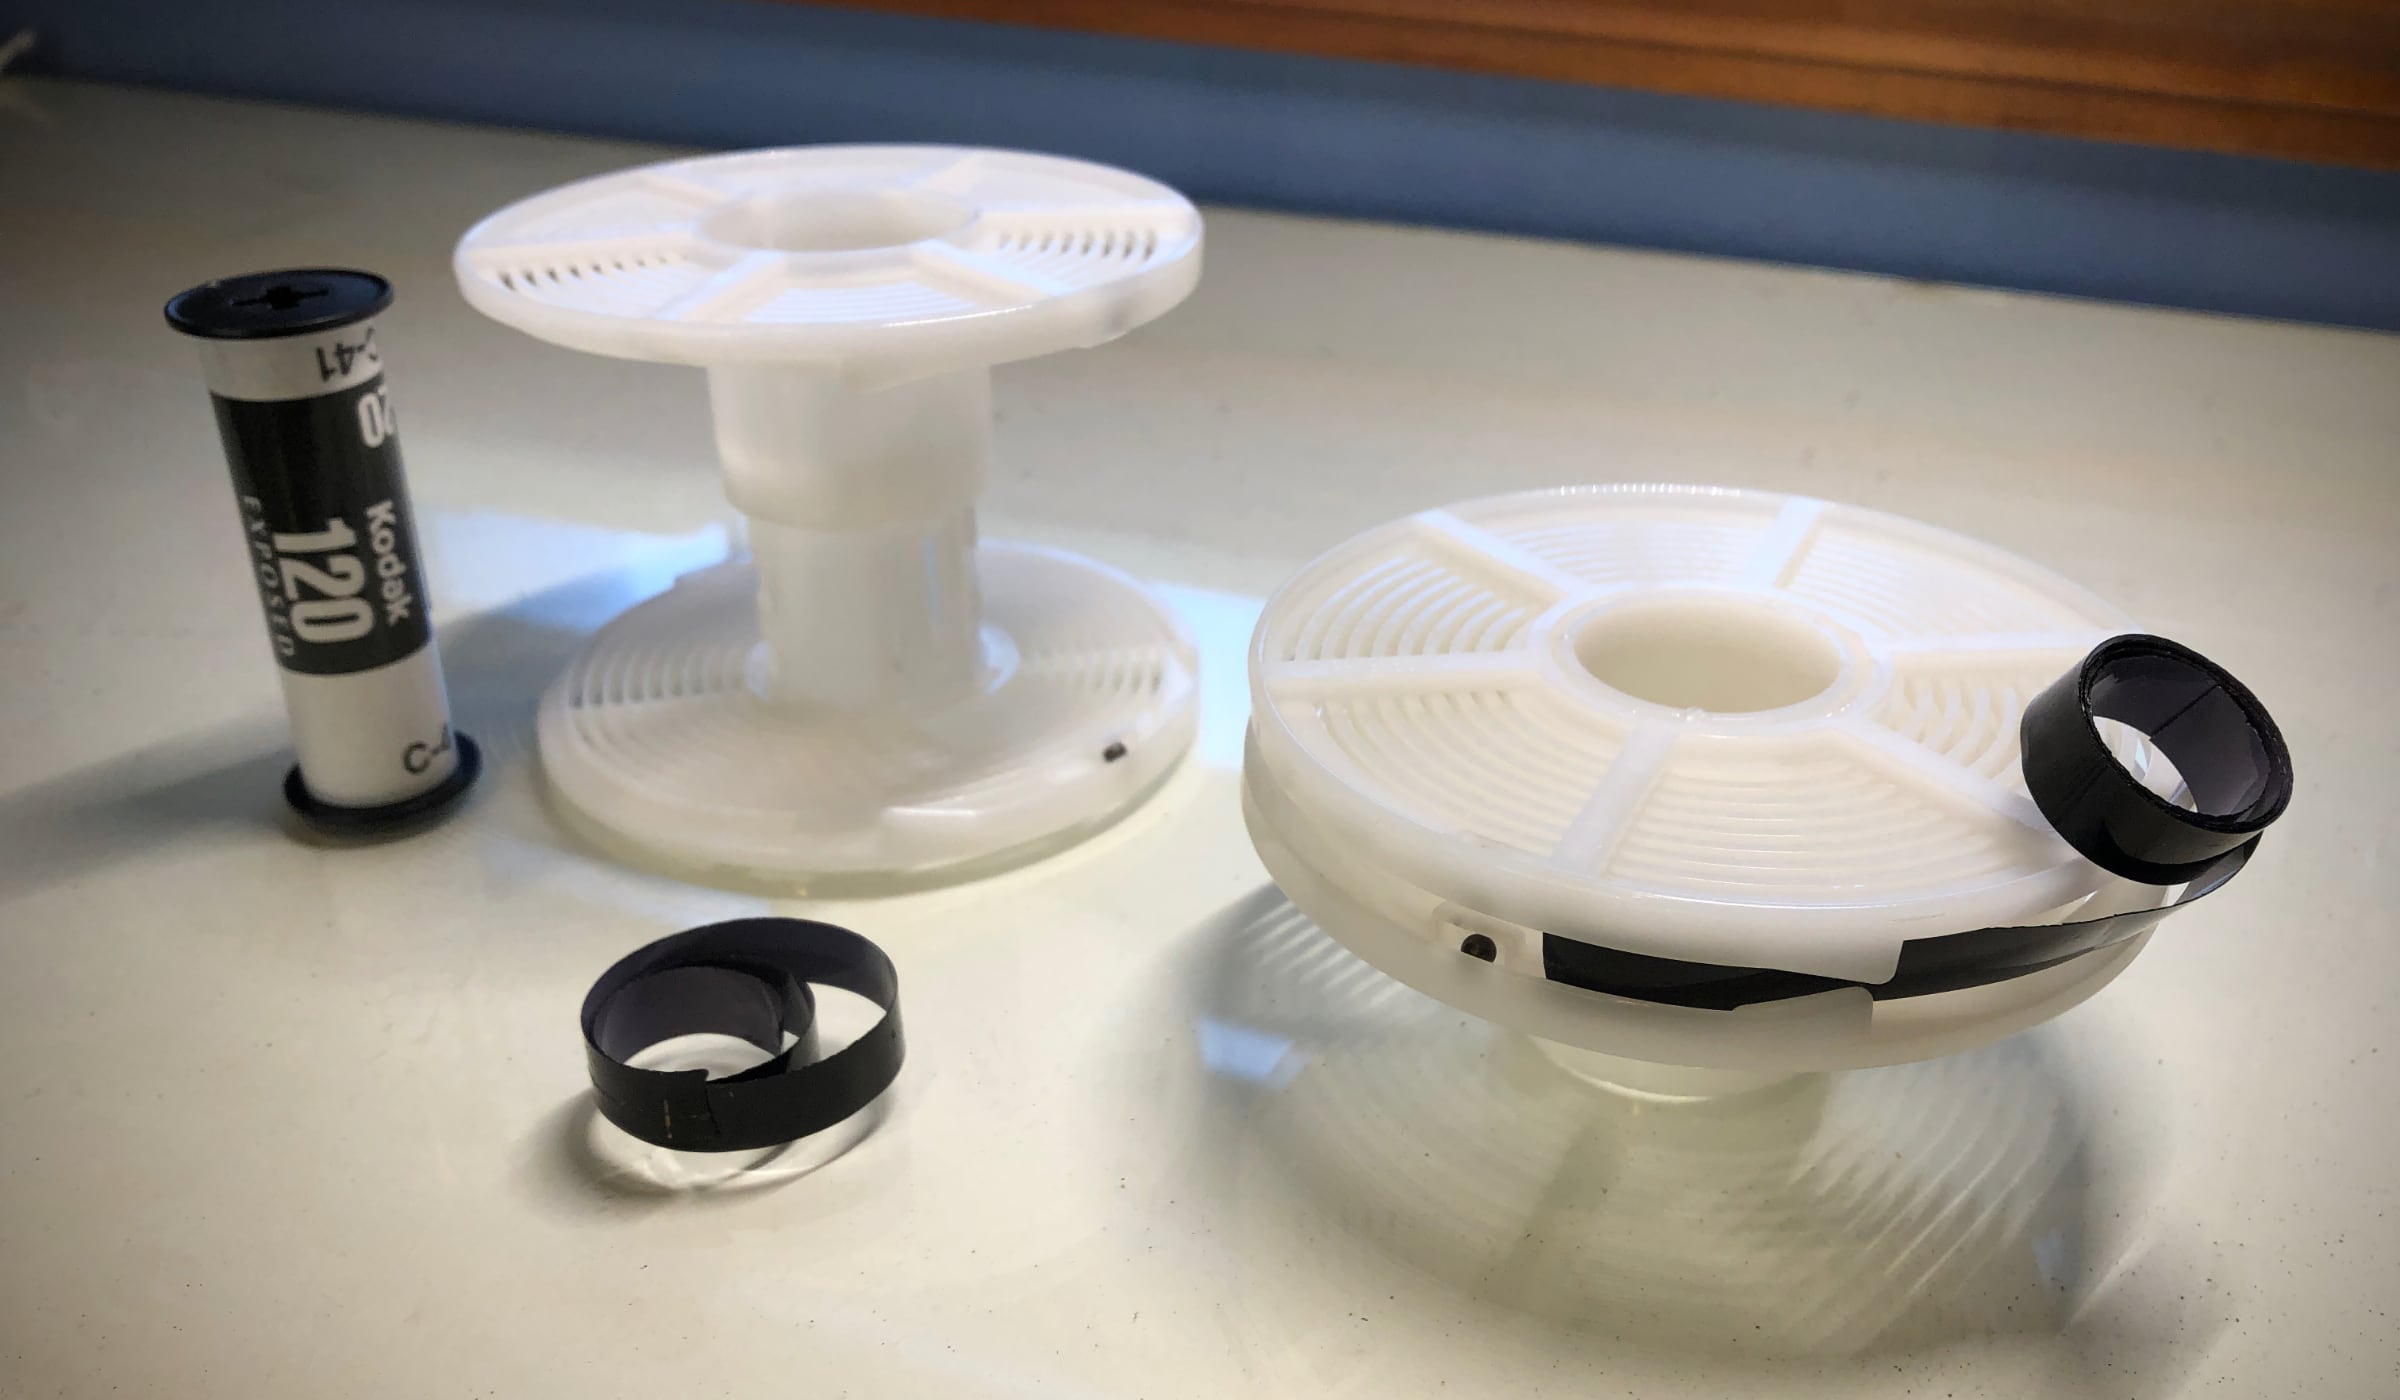
The blades on the film slitter I had in 2021 were worn down and didn’t appear to be replaceable. I went to Thingiverse and found a slitter with replaceable blades and use that now. Also, the custom Paterson reel I made in 2021 broke, so I 3D printed multiple replacements. I think all the supporting equipment for Minox cameras can be 3D printed nowadays.
The original film cartridges that I reload are all broken. These can also be 3D printed, but I don’t like fiddling around with the light traps, so I just use the broken ones. The thin piece that connects the 2 film chambers breaks easily, especially when you are fumbling around with them in the dark. I just load the correct side in the dark and leave some film hanging out. Then, in the light, I tape the film on to the uptake spool, drop that in the other side, and then use a small piece of tape to hold the two halves together. The film will do most of the work, so the tape isn’t really necessary. I like to tape them so that they stick together when I pull the shot film out of the camera.
Minox film is available from Blue Moon Camera and Machine in Oregon. Their offerings are wonderful, but if you shoot more than a few rolls a year there are some more economical options. A roll of 8x11 film costs $20, which is quite a bit more than the equivalent roll of 35mm film. With a working film slitter, a roll of 35mm film can yield more than four 36 frame rolls. Some nice 9mm slitters are available for purchase from Jimmy Li. An even cheaper alternative is to build a DIY film slitter, just keep in mind that scratches are more pronounced on smaller frame sizes. Of course once the film is slit it still needs to be loaded into a Minox cassette.
I normally follow a two-step process of first slitting the film and then loading it into cassettes. For the first step I load up a darkroom bag with scissors, tape, an empty black film canister, and a film slitter which has been pre-loaded with a roll of 35mm film. Then I slit the film, one length at a time. I use a length of nylon string to measure off the correct distance. When that length is reached I carefully snip off the sprocket hole lengths and stash them in an unused corner of my changing bag. Then, one by one, I snip off the lengths of film, roll them, tape them, and drop them into the film canister. Once the film is slit I make sure the cap is on the film canister holding the newly slit film, then I take everything except that canister out of the bag.
For the second step I add the empty Minox cassettes and the caps for the unexposed side of the cassettes into the bag. Then, in the dark, I take the rolls out of the canisters, un-tape them, drop them into the cassette while leaving a tail of film sticking out, and cap the cassette. With this complete I finish loading the cassettes in subdued light outside of the darkroom bag. I carefully feed the film tail across and into the other side of the cassette. Next, I get a small piece of tape, attach it to the end of the film, drop the take-up spool into the chamber, and then join the two together. I’ll often flip the take-up spool around and tape the other side of the film as well. Finally, I center the take-up spool and pop on the cap. The cassettes get put into plastic Minox film boxes. I use a rubber band to group the boxes together, and I tear off a part of the original film box to keep with them, so I don’t forget what film was used.
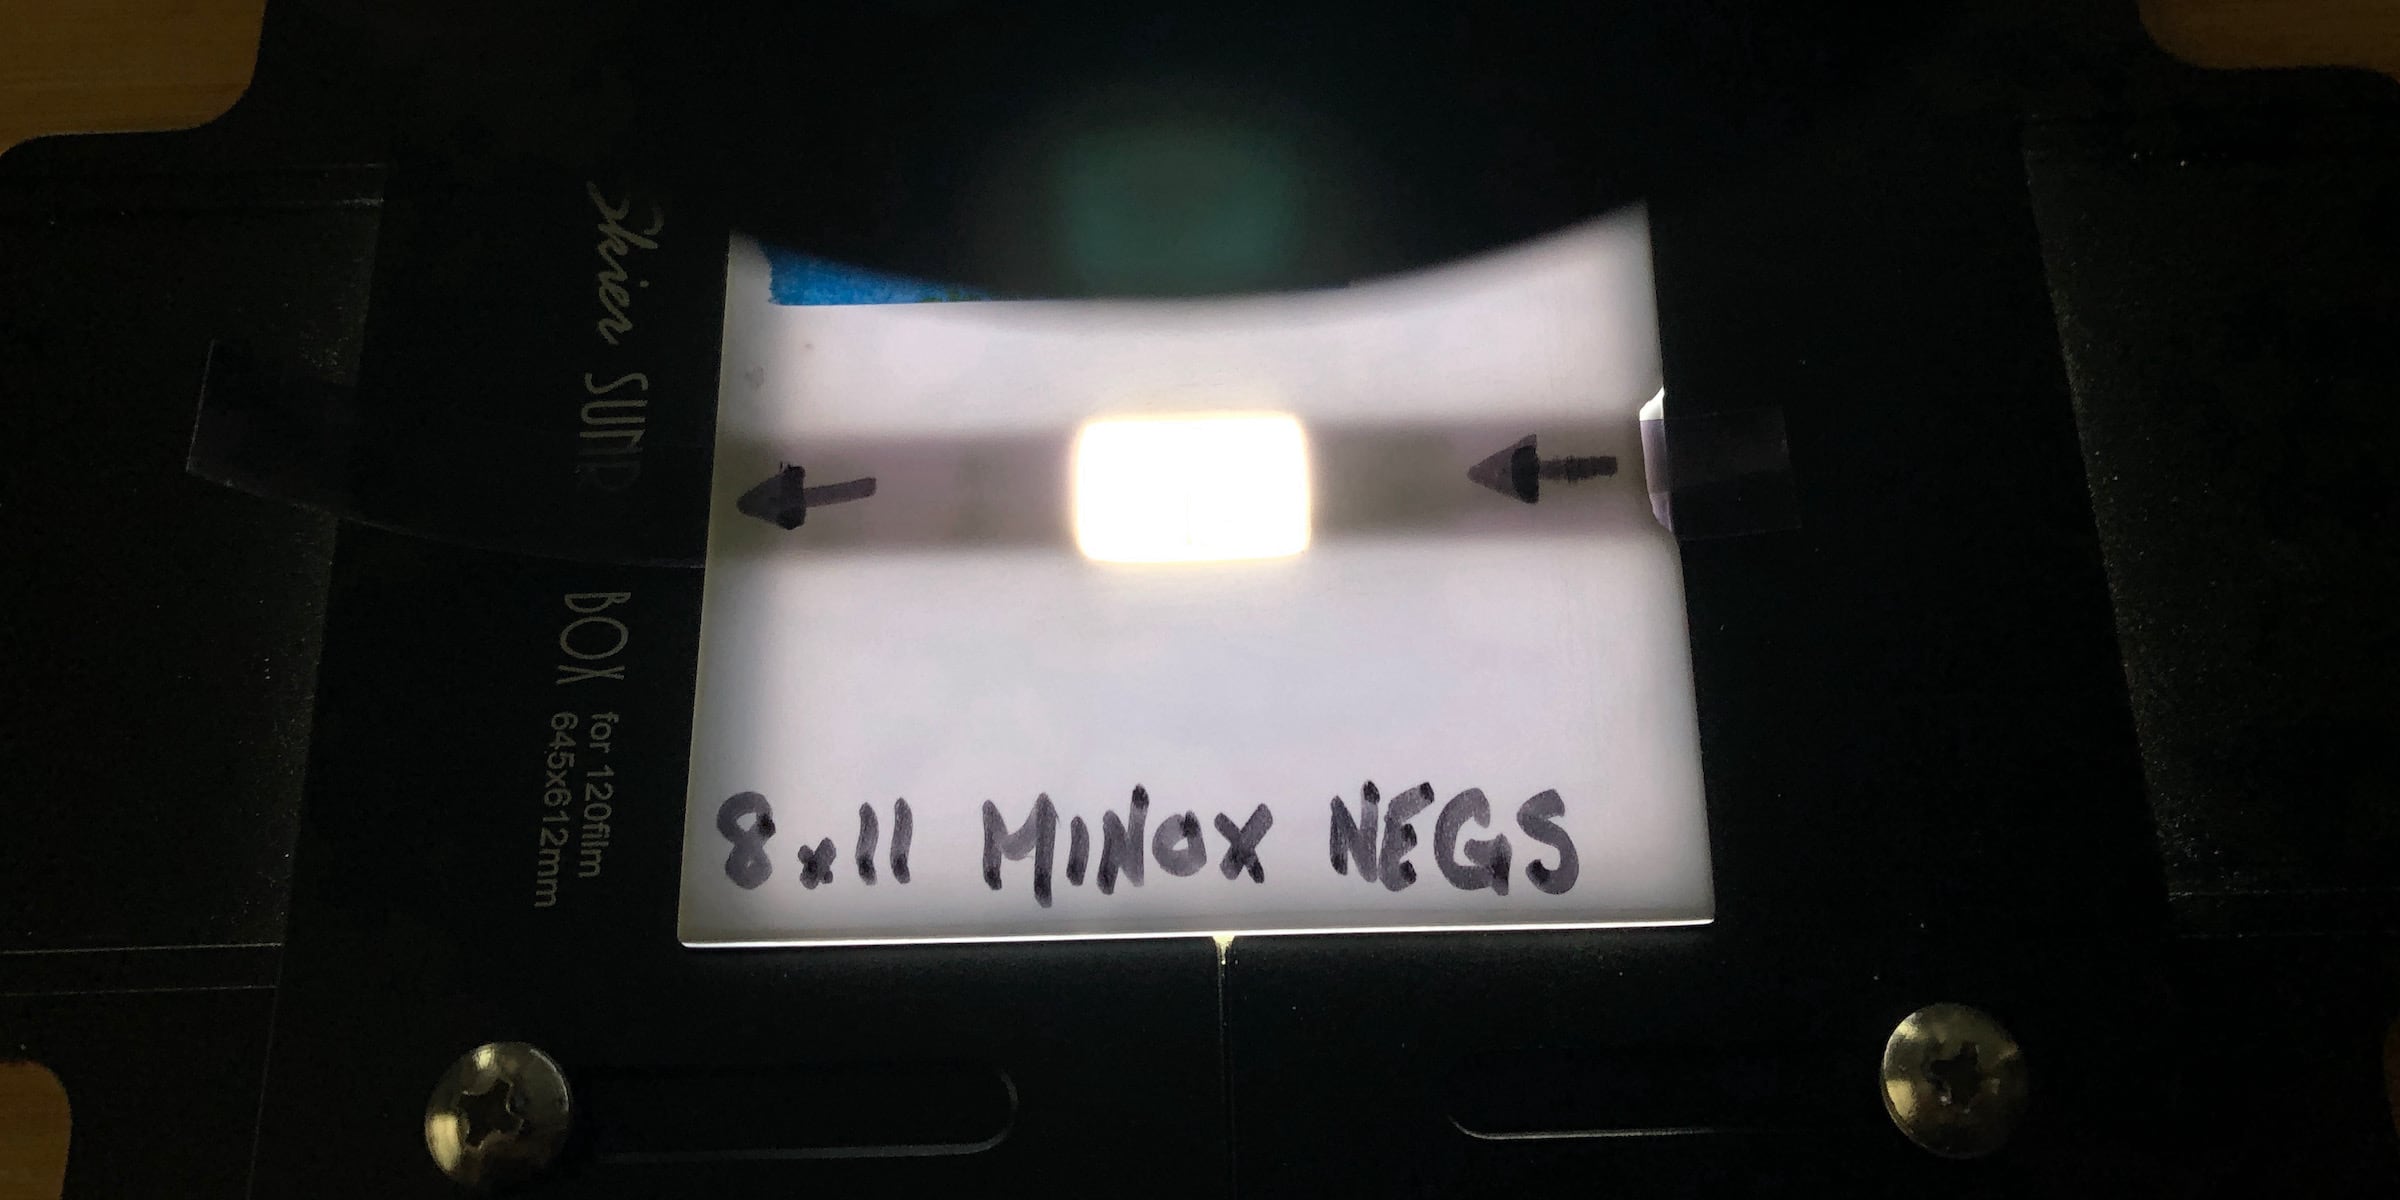
Blue Moon Camera also offers Minox film development. They do great work, but it takes time for shipping, development, and shipping again. Also, I just enjoy developing my own film. I started using an old, official Minox daylight development tank, but I found that the development was not always even. In fairness, the uneven development was the result of various user errors. I’m sure they could be cured with practice, but I don’t run into those types of problems with my Paterson tank, and it would be nice to use the same techniques I use when developing 135 and 120. Unfortunately reels for 8x11 film are practically impossible to find. I decided to modify one of my Paterson reels to handle to tiny film. Without this custom development reel I would probably shoot a lot less Minox film.
I use a digital camera to digitize developed film negatives. However, processing the tiny 9mm negatives is a bit more challenging than 35mm ones. In order to get a high resolution scan, a longer macro lens is required. To get a near full-frame shot I add 64mm of extension to my 50mm lens. But, adding the macro extension causes two problems. The first problem is that the depth of focus becomes very shallow. Without a Minox-frame-sized negative carrier to hold the negatives flat some of the frames will invariably have less sharp focus. I’m not aware of any commercially available 8x11 negative carriers, so I had to make one out of styrene sheets. The next problem is that image magnification also magnifies camera shake, so I finally had to stop releasing the shutter by hand. I switched to tethering my digital camera to my laptop and doing a direct capture.
I like to keep my workflows simple and consistent, it helps me make fewer errors. I modified a Paterson reel so that my 8x11 development workflow would match the workflow I use for other film formats. And, I modified my digitization workflow for other formats to match the workflow I use for 8x11 negatives. In that way working with subminiature film has improved my overall workflow and helped me produce better images across the board.
The Minox LX helpfully has a full-size tripod socket so that the camera can be screwed into a standard tripod mount without the need for an adapter, as is the case on older Minox models. It is best to attach the Minox LX to the tripod with the camera in the closed position. The bottom of the tripod mount hole has a plug which is friction fit into place. So, if the tripod mount screw is too long it can force the plug to pop out. If the plug is out of place then internal parts of the camera can be damaged. It is also not possible to fully close the camera or advance the film when the plug is not in its proper place. Reattaching the plug is not terribly difficult, but it requires removing part of the cover, which can be tricky. When the camera is closed the bottom of the tripod mount rests against the body of the camera, making over-tightening less likely.
The smallest camera for the 8 x 11mm format. With automatic electronic exposure from 1/200 to approximately 15 seconds, light measurement via silicon photodiode, automatic shutter, manual shutter speeds from 1/2000 to 1/30 second. Built-in, push-in 4x neutral filter (in case a 2000th of a second is too long for the correct exposure). The automatic flash function closes the shutter automatically as soon as the flash has given the correct exposure, at the longest 1/30 second. Objective lens of f/3.5 at 15mm (4 elements), distance setting range 8 inches to infinity. Aperture is always fully open. Light indicators for long-exposure (yellow), risk of overexposure (red), and battery status (green). Bright line viewfinder with automatic parallax compensation and warning display for filter. UV filter and sun visor. Film transport via high-speed telescopic action.