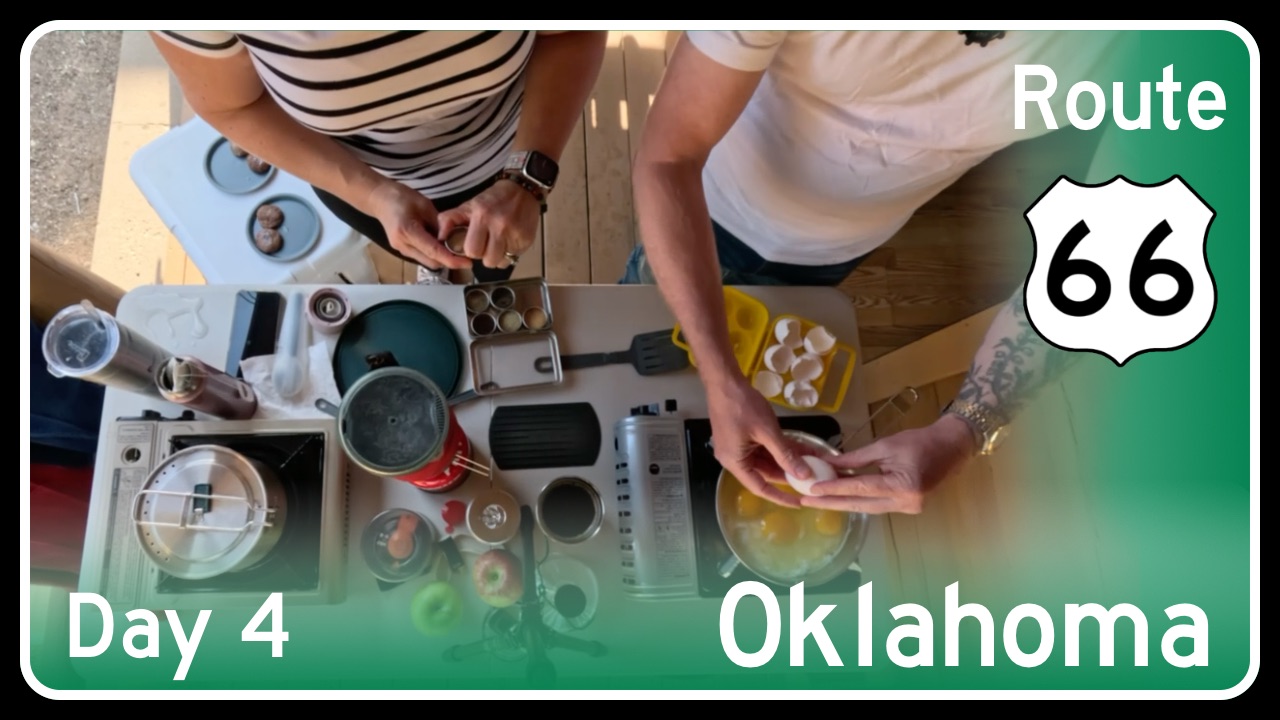
We start the morning making breakfast at camp and then push west through the last of Oklahoma — past Clinton, through the ghost town of Texola, and into the Texas Panhandle. Shamrock, McLean, and Groom bring us the quirky Texas side of Route 66.
📍 Stops: El Reno, OK, Hinton, OK, Hydro, OK, Clinton, OK, Texola, OK, Shamrock, TX, McLean, TX, Groom, TX
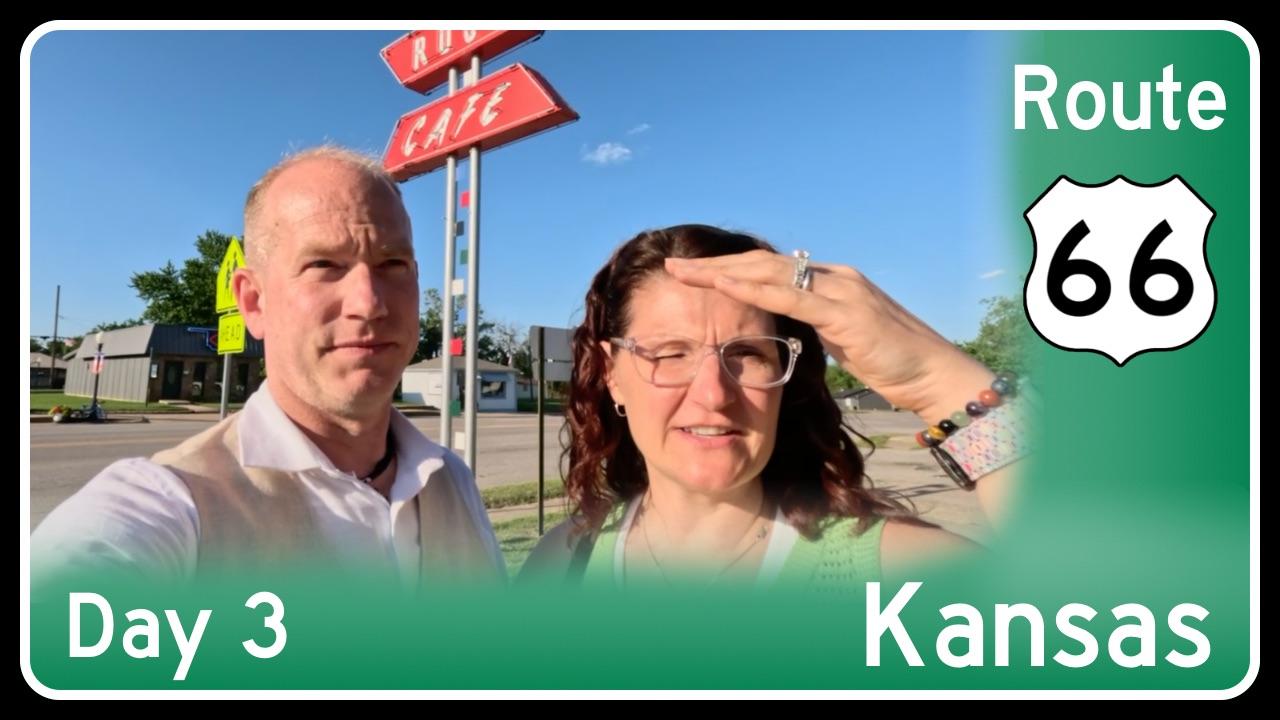
Our biggest day yet — three states in one episode. We leave Springfield, MO, dip through the short Kansas stretch of Route 66 at Galena, and spend the rest of the day in Oklahoma. We talk about what makes a great roadside attraction, the future of road trips, and end at the Rock Cafe in Stroud (yes, the one that inspired Cars).
📍 Stops: Springfield, MO, Ash Grove, MO, Carthage, MO, Galena, KS, Afton, OK, Vinita, OK, Chelsea, OK, Catoosa, OK, Tulsa, OK, Sapulpa, OK, Stroud, OK
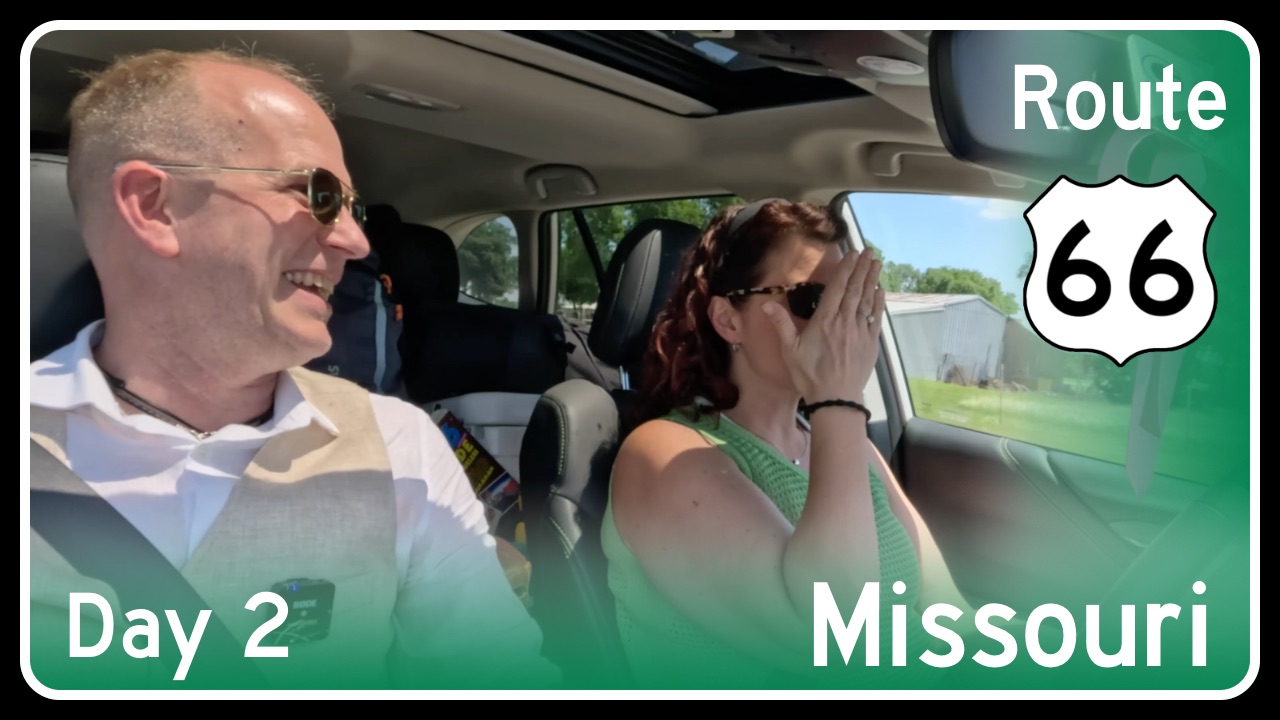
We leave Illinois behind, passing through the abandoned storefronts of Litchfield and crossing into Missouri at St. Louis. From there it’s into the Ozarks — Devils Elbow, Cuba, and all the little stops in between — ending the day at a KOA in Springfield, MO.
📍 Stops: Litchfield, IL, Mount Olive, IL, Livingston, IL, Collinsville, IL, St. Louis, MO, Rolla, MO, Cuba, MO, Devils Elbow, MO, St Robert, MO, Springfield, MO
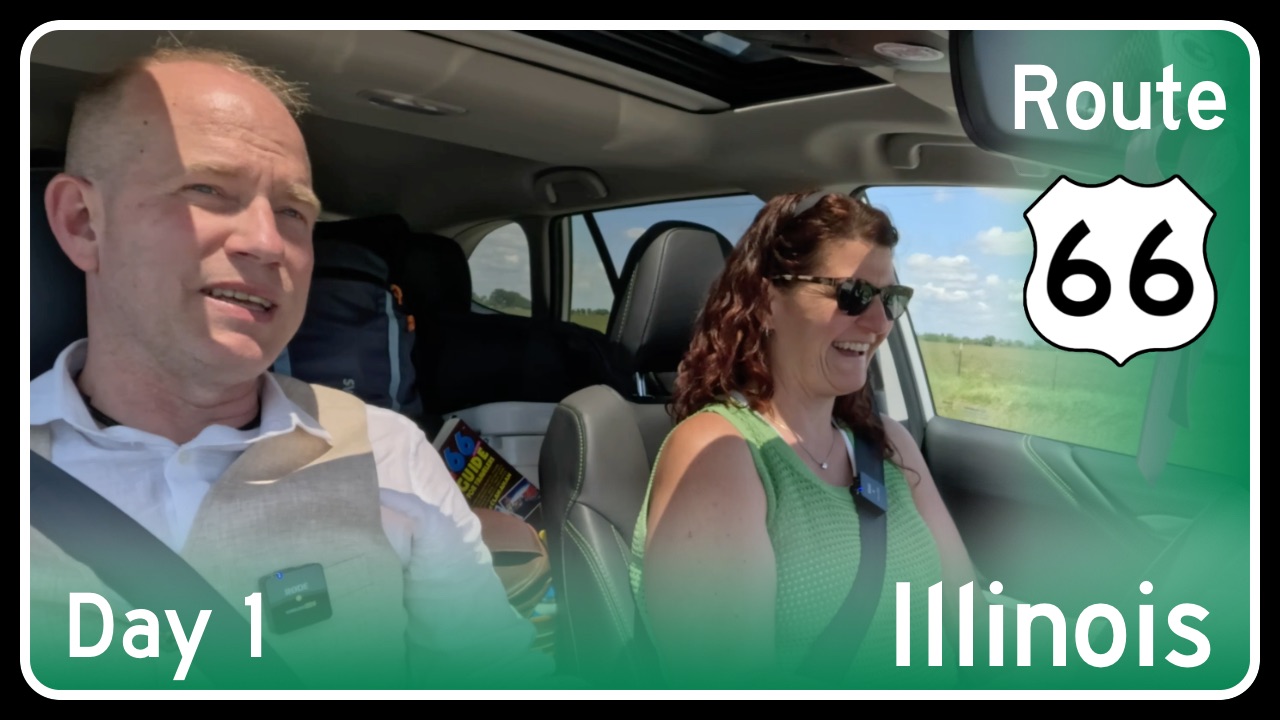
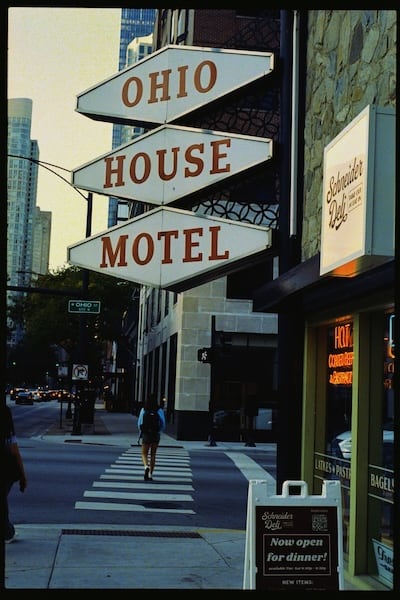
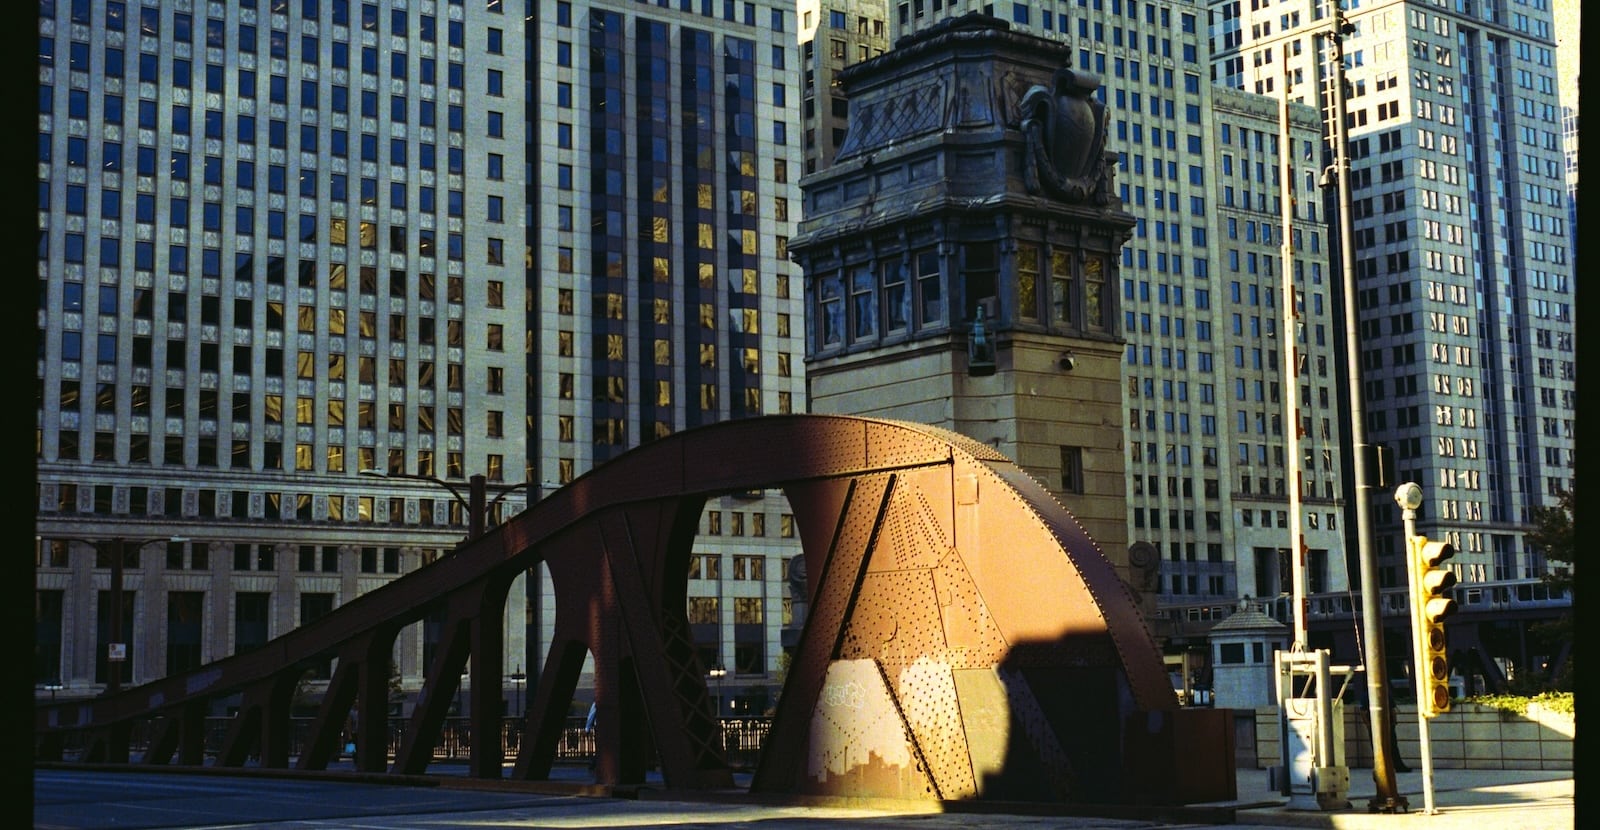
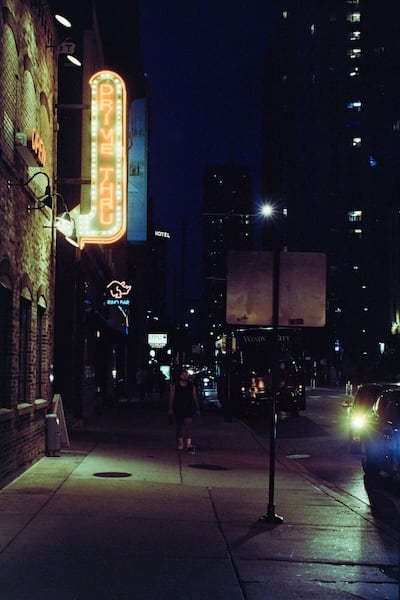
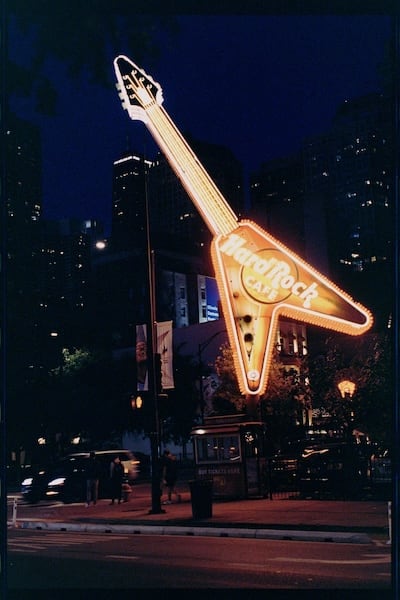
Day 1 on Route 66 starts in a rainy Chicago and heads southwest through the classic small towns of Illinois. We hit the Gemini Giant in Wilmington, explore the murals of Pontiac, and end the day in Springfield. These little towns are the heart and soul of Route 66.
📍 Stops: Chicago, IL, Joliet, IL, Wilmington, IL, Gardner, IL, Dwight, IL, Pontiac, IL, Atlanta, IL, Springfield, IL
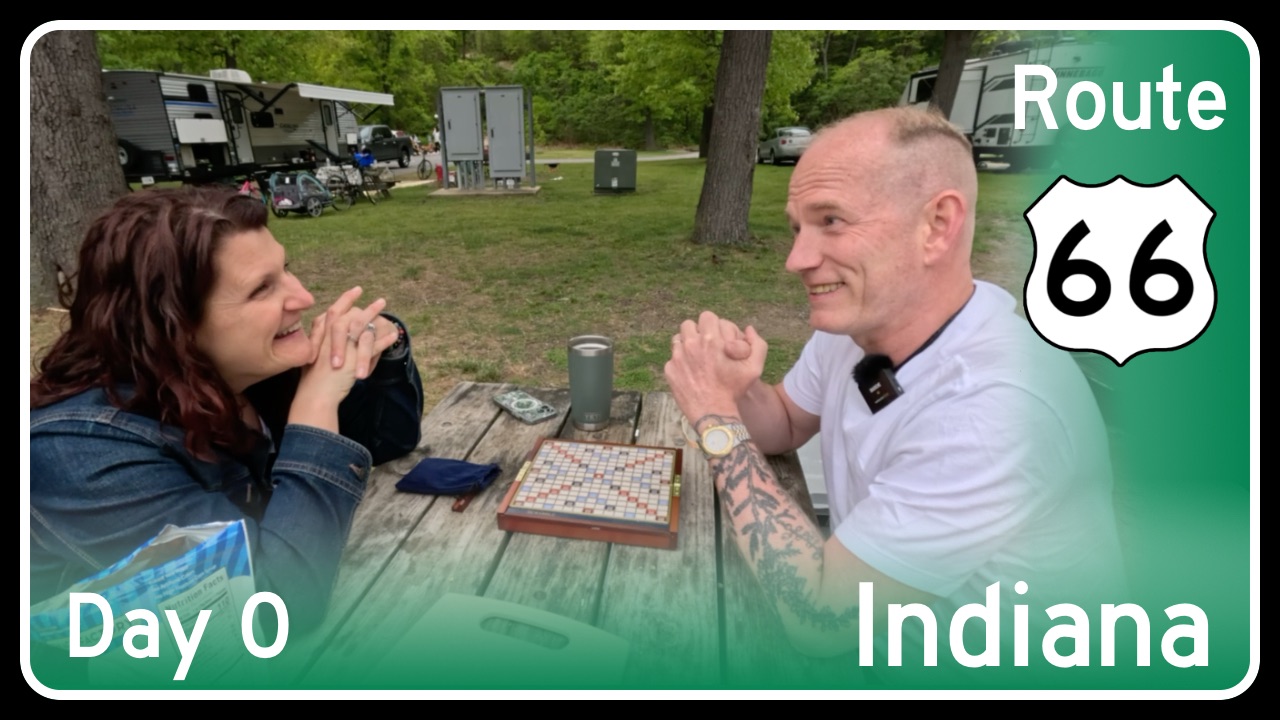
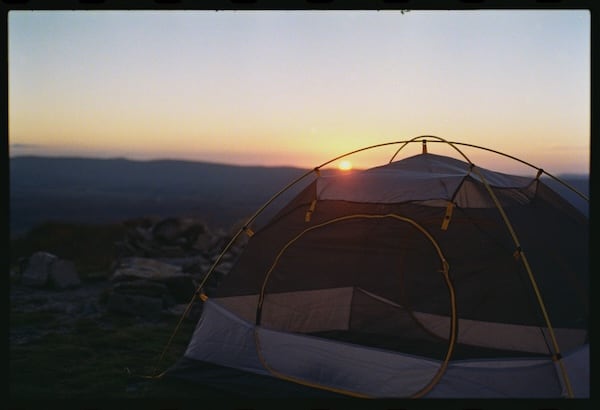
We’re hitting Route 66 — Chicago to LA — and this is Day Zero. We set up camp near the Indiana Dunes, test out the Subaru camping setup for the first time, and explore the World’s Fair Homes before the real journey begins. Two weeks, one car, zero kids, and a whole lot of road ahead.
📍 Stops: Indiana Dunes, IN, World’s Fair Homes
I survived one pointless war in the Middle East, and I have no interest in sending my sons to another pointless war in the Middle East.
We all understand that the world is full of bad actors, and no one would defend the actions of those who seek to terrorize the majority of people in the world who are peaceful. But our elected representatives have a duty to deal with bad actors using the least force necessary.
There is no indication that Iran poses an imminent threat to the United States or our allies. Last June, the White House told us — in detail — that Iran’s nuclear program had been “obliterated.”1 The President, the Secretary of Defense, the Director of National Intelligence, the IAEA, and independent nuclear experts all confirmed it. If that was true then, what imminent threat justifies a new war now? If it wasn’t true, then the administration misled us. Either way, we deserve an answer.
The White House, “Iran’s Nuclear Facilities Have Been Obliterated — and Suggestions Otherwise are Fake News,” June 25, 2025. https://www.whitehouse.gov/articles/2025/06/irans-nuclear-facilities-have-been-obliterated-and-suggestions-otherwise-are-fake-news/ ↩

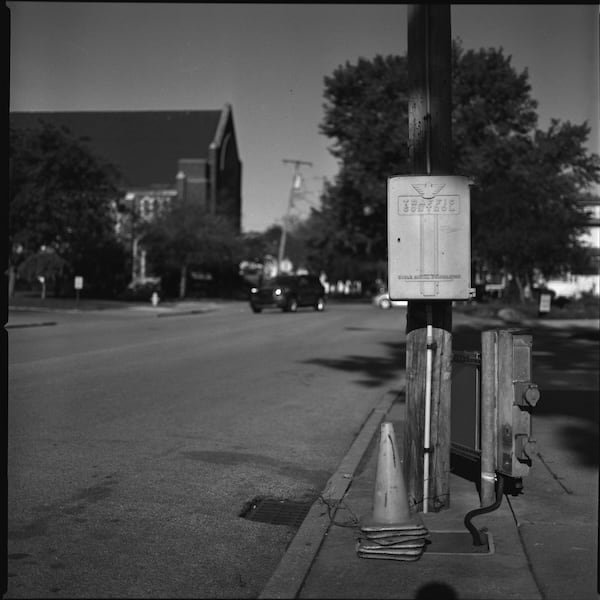
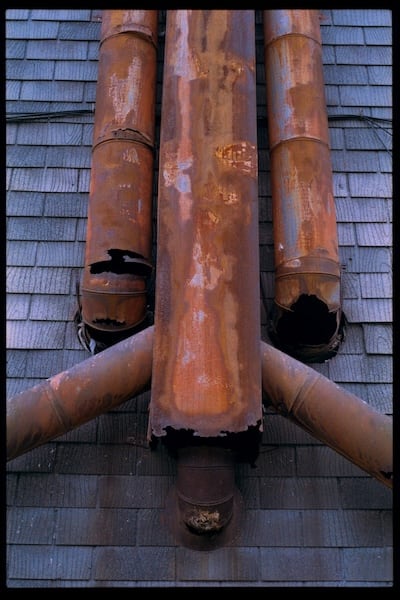
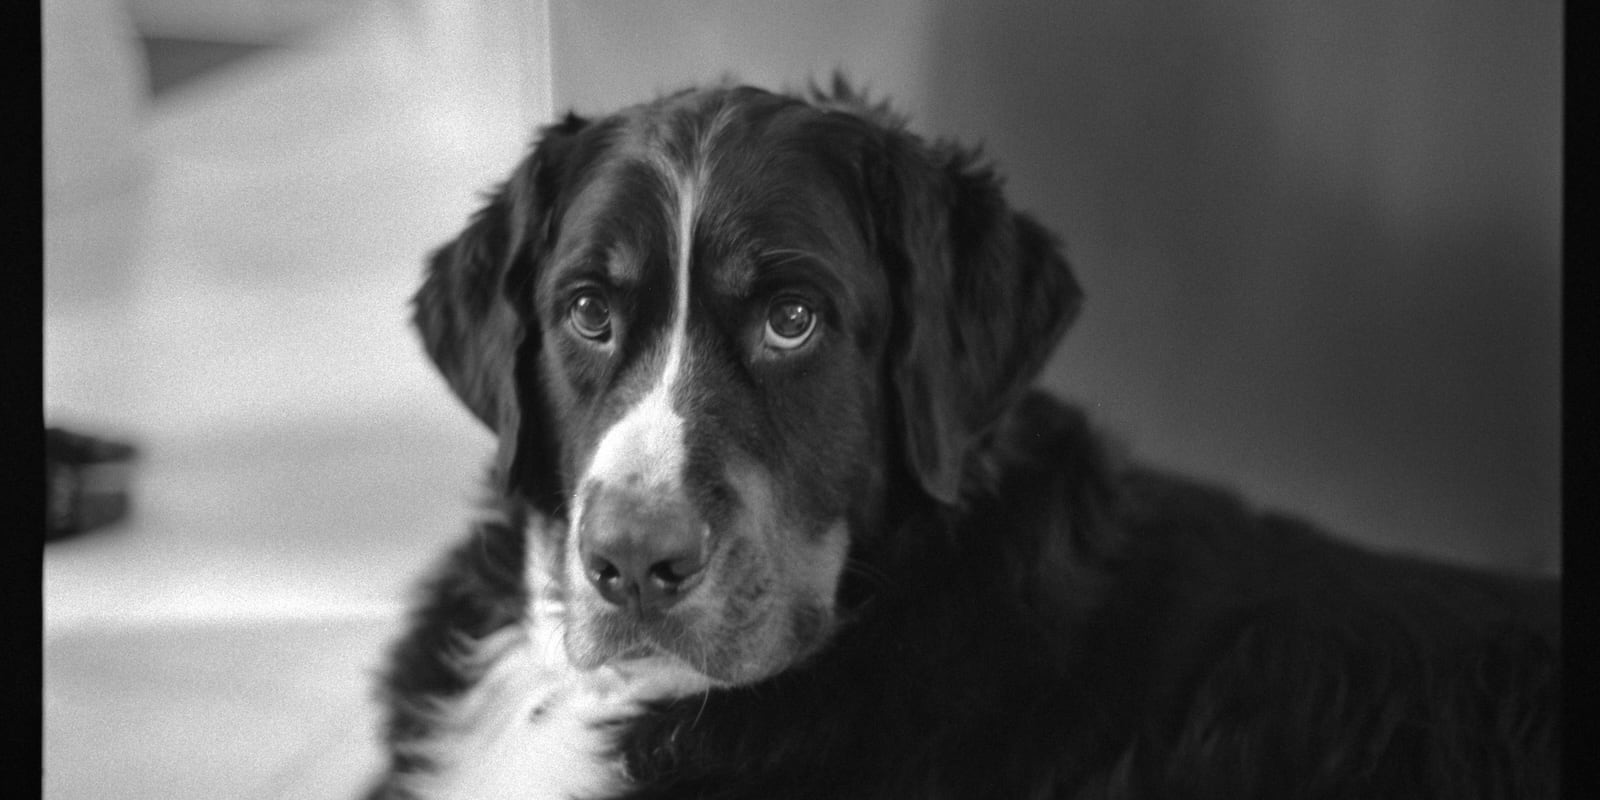
I took a lot of photographs in 2025. It makes sense. I took an unusually large number of photos of the local Masonic Temple before and during its demolition. We spent three weeks driving Route 66. My oldest son was married. I was involved with some political campaigns. And, I was working on building a portfolio of photos that could become commercial prints.
The chart doesn’t reflect it, but I set a personal record for the number of pictures taken in 2025. This is the first year that I filtered my retrospective chart. I excluded the digital photos that I took for reference purposes. When we traveled Route 66 I snapped pictures of signs and other details that I wanted to refer back to when editing our travel videos. I also took a lot of photos of the Zeiss Ikon Ikoflex III as I performed a complete rebuild of it. Without filtering the EOS RP and iPhone 13 would be in the second and third spots, respectively, on the list. And, we wouldn’t want two digital cameras in the top three positions, would we?
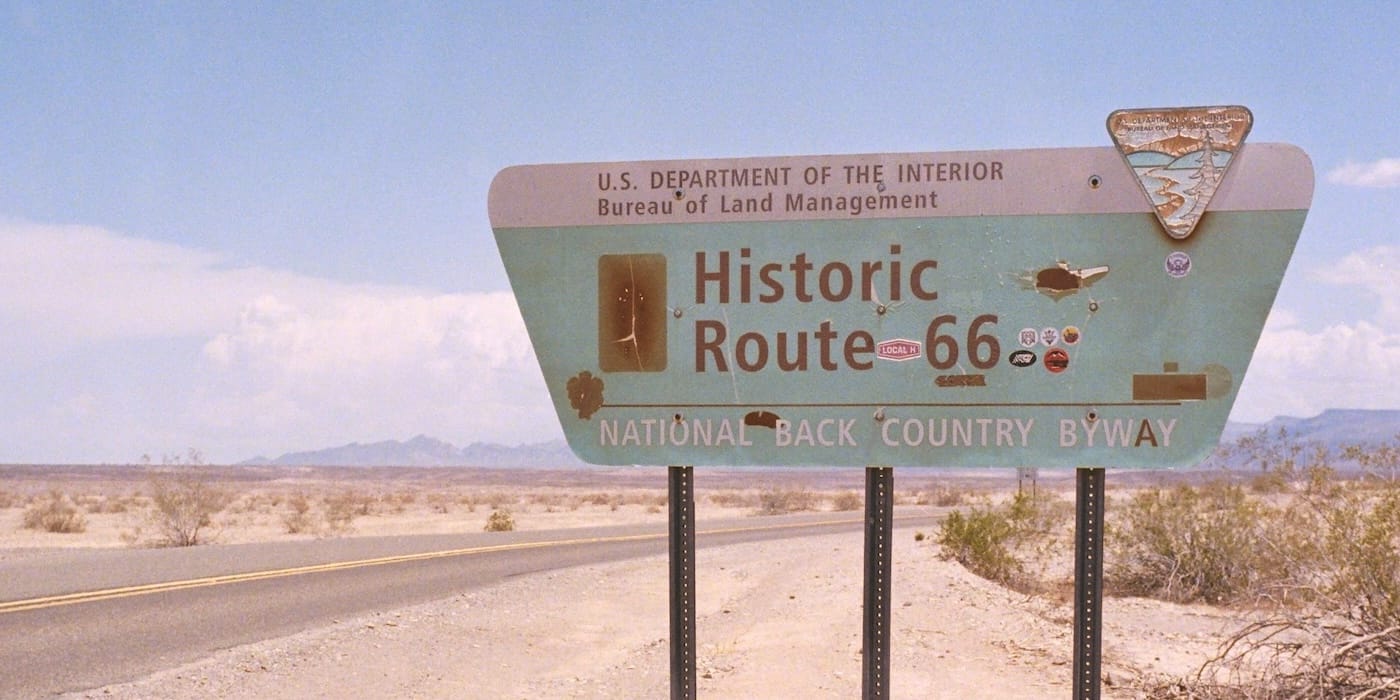
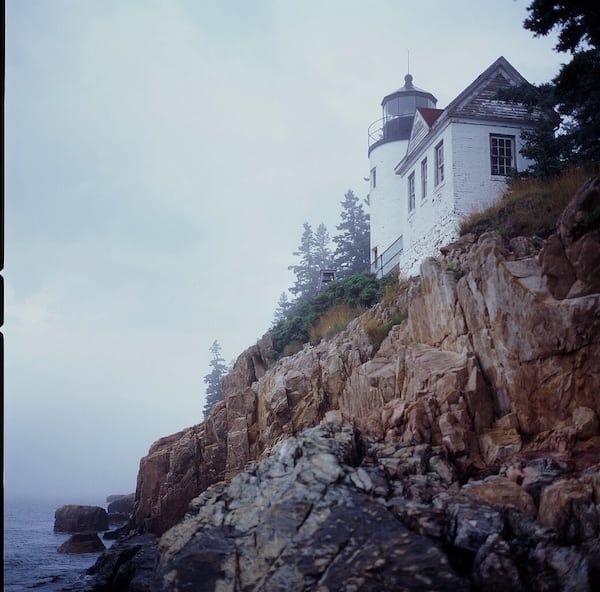
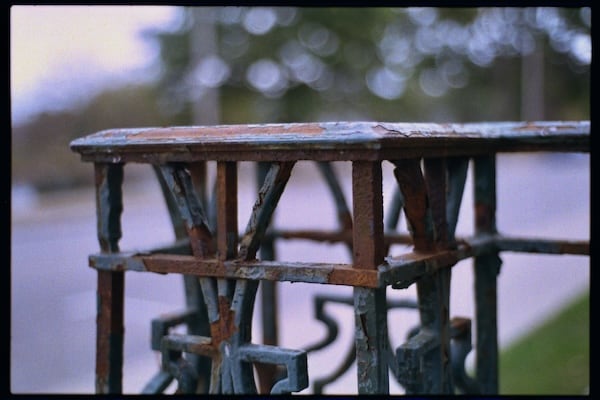
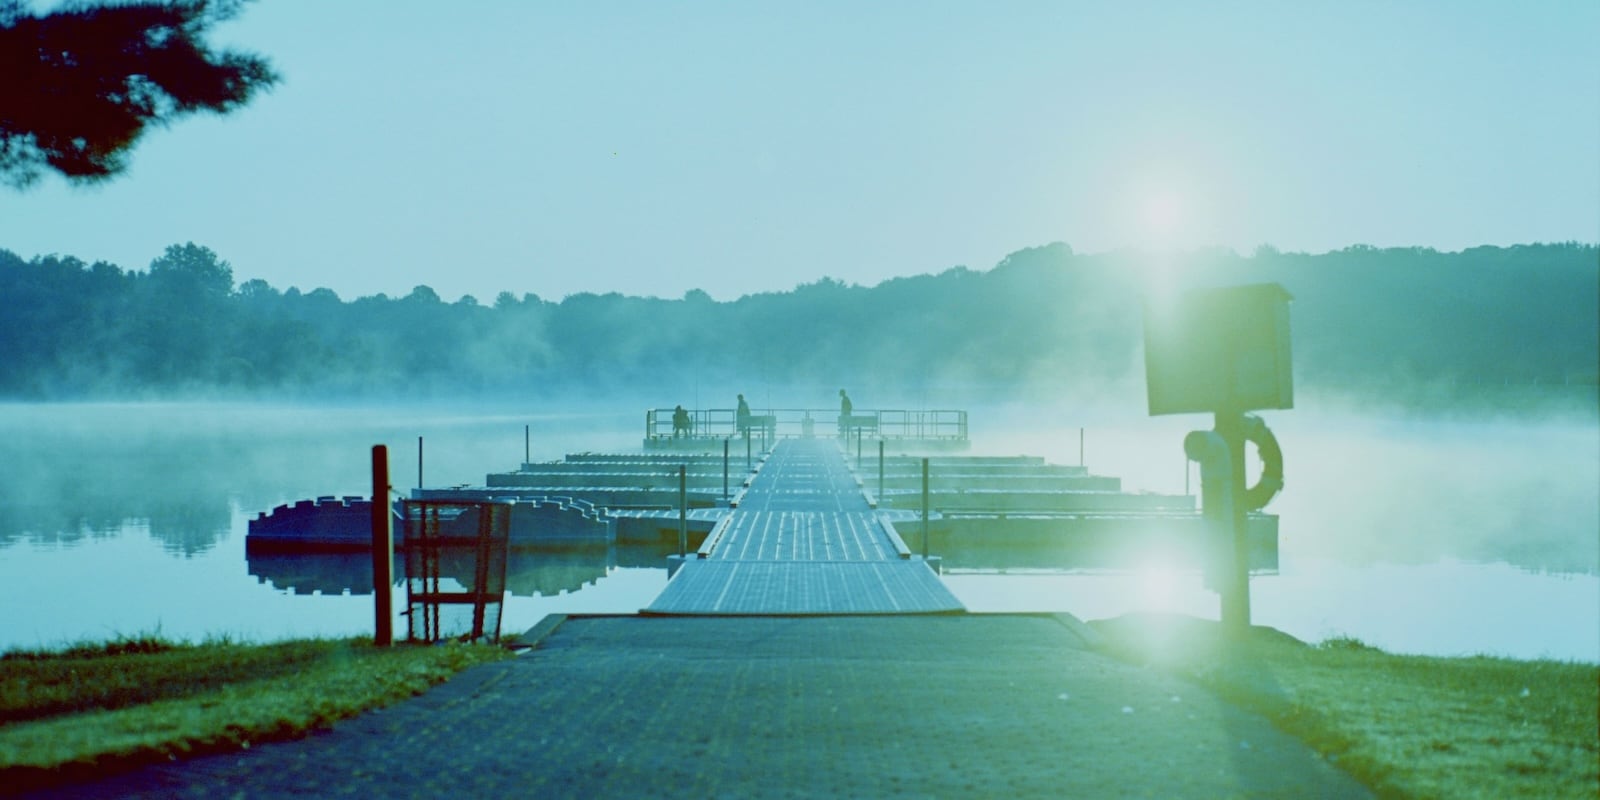
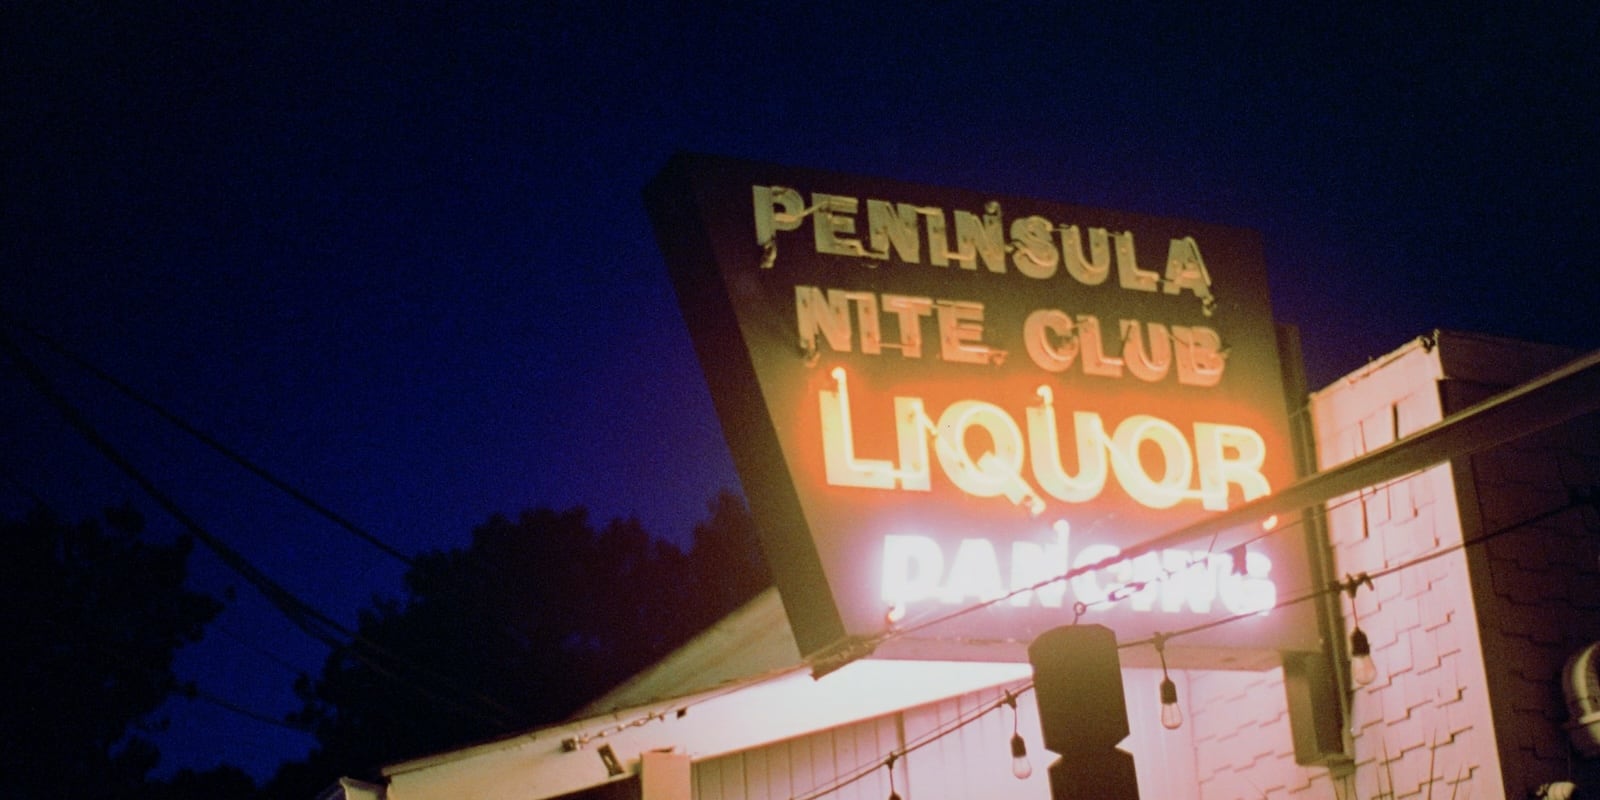
I finally found the right circumstances to take a long summer trip with Heather. Thanks to the shaky economy I was able to pull away from work for a bit, Heather was naturally on summer break, and my boys were home to watch the dogs. As you already know from the title, this trip would be on the famous Route 66.
We traveled all 2,400 miles from Chicago to Santa Monica. Along the way we took over 1,000 photos and videos. No one wants to sit through a slide show that long, so I have distilled it down to 25 photos. With this collection I have tried to balance showcasing my favorite individual photos with giving an overall impression that matches the road trip.